a morning at the Accademia del Caffè Espresso
My experience visiting and taking a barista course at La Marzocco's Accademia del Caffè Espresso in Florence, Italy
In mid-October 2025, I was traveling to Europe to visit family, and we planned to spend some time in Florence. It just so happened that there was a home barista course being offered at the famous Accademia del Caffè Espresso, La Marzocco’s museum and learning center. I managed to grab the last open slot out of three available spots and spent my Tuesday morning there.
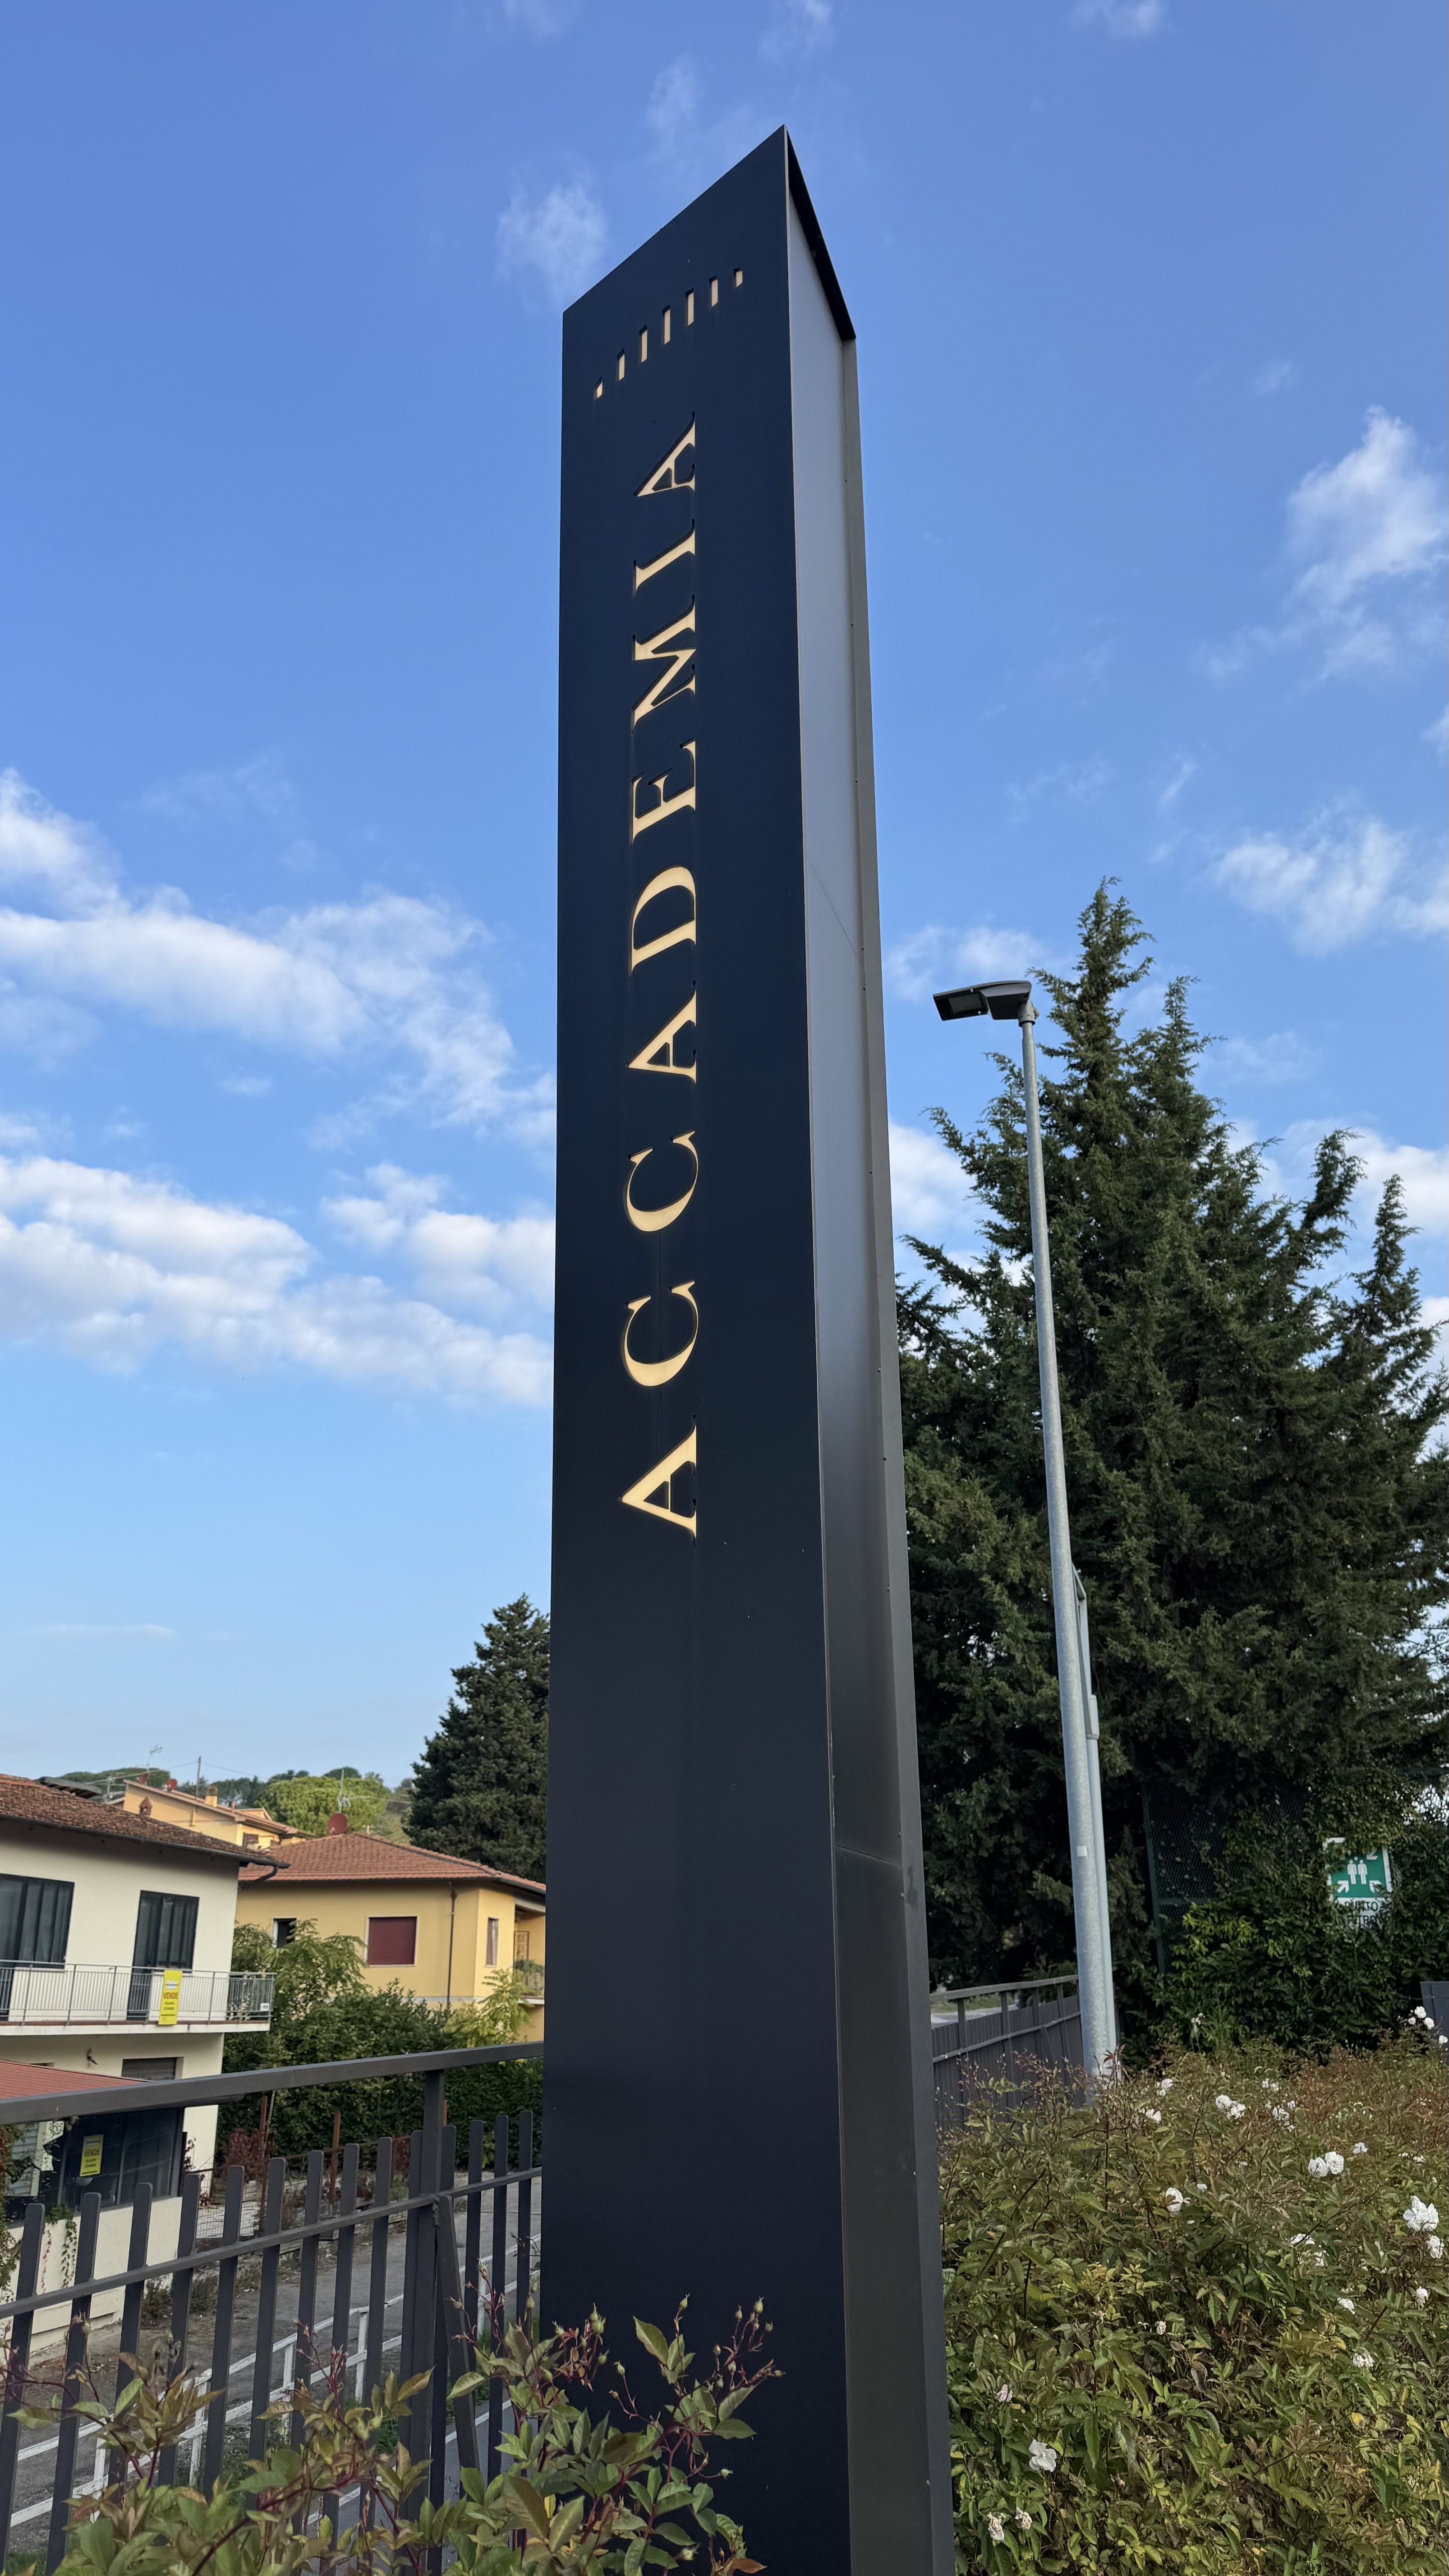
entrance
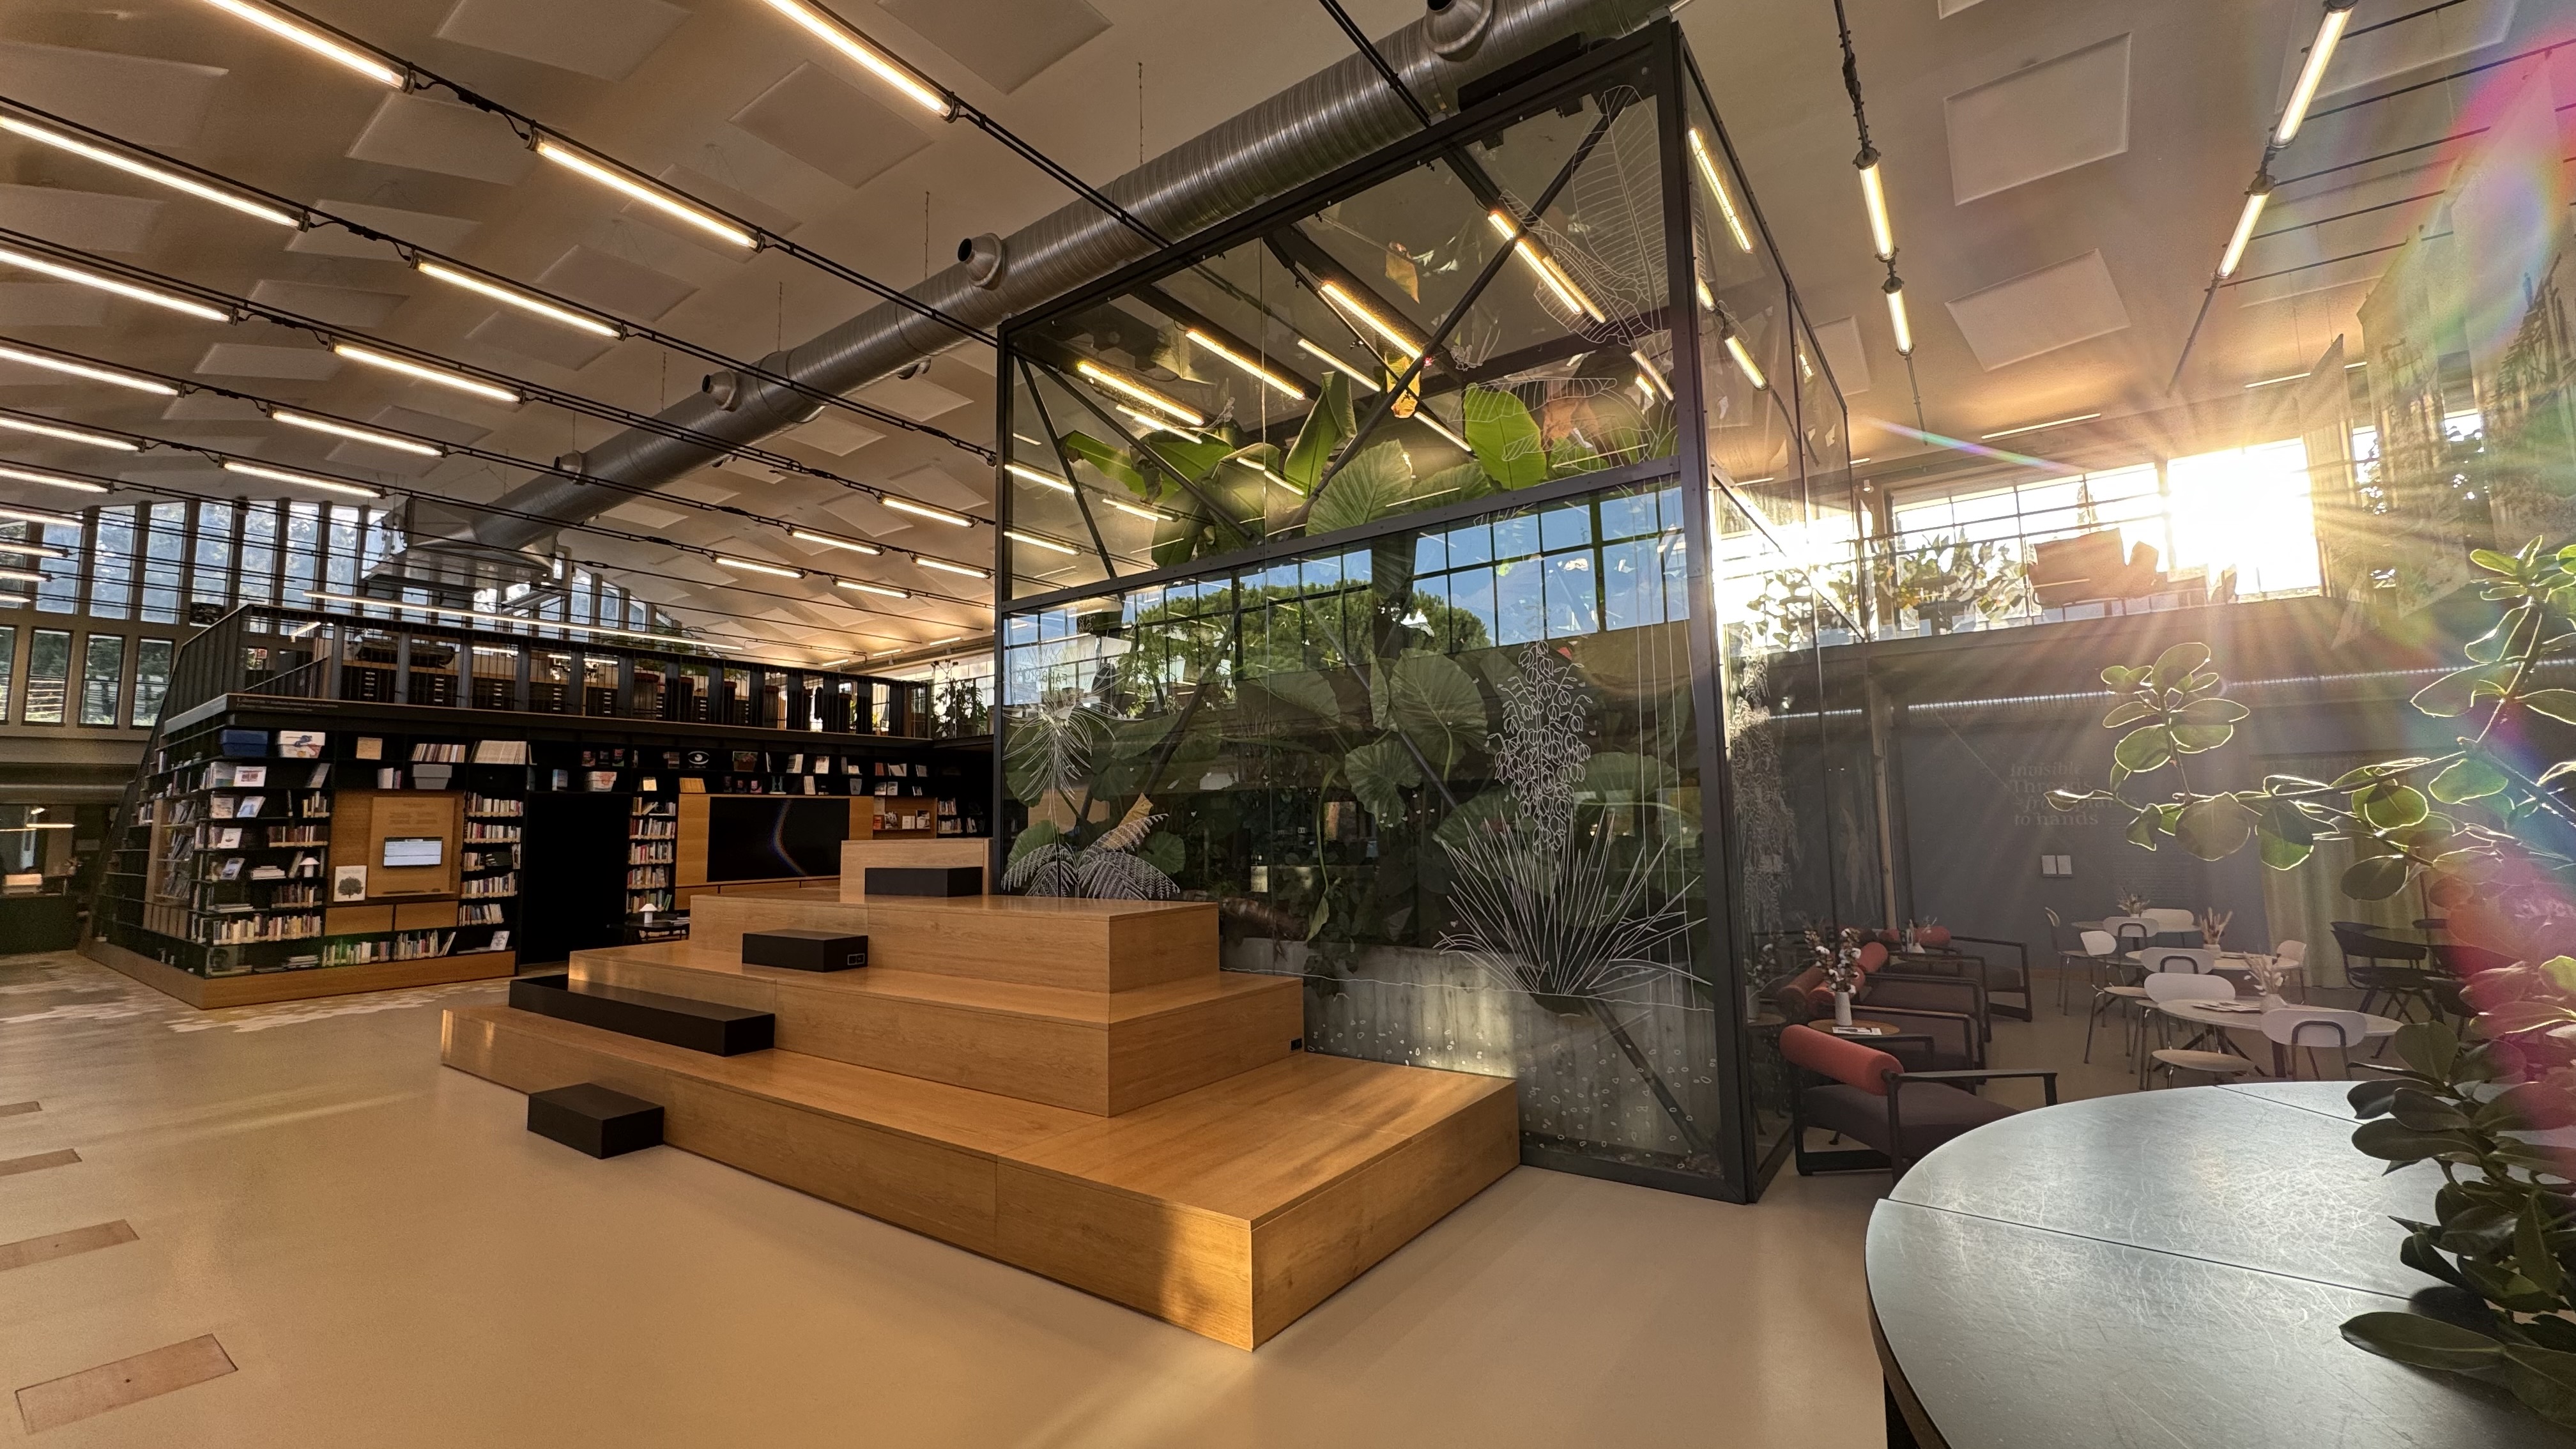
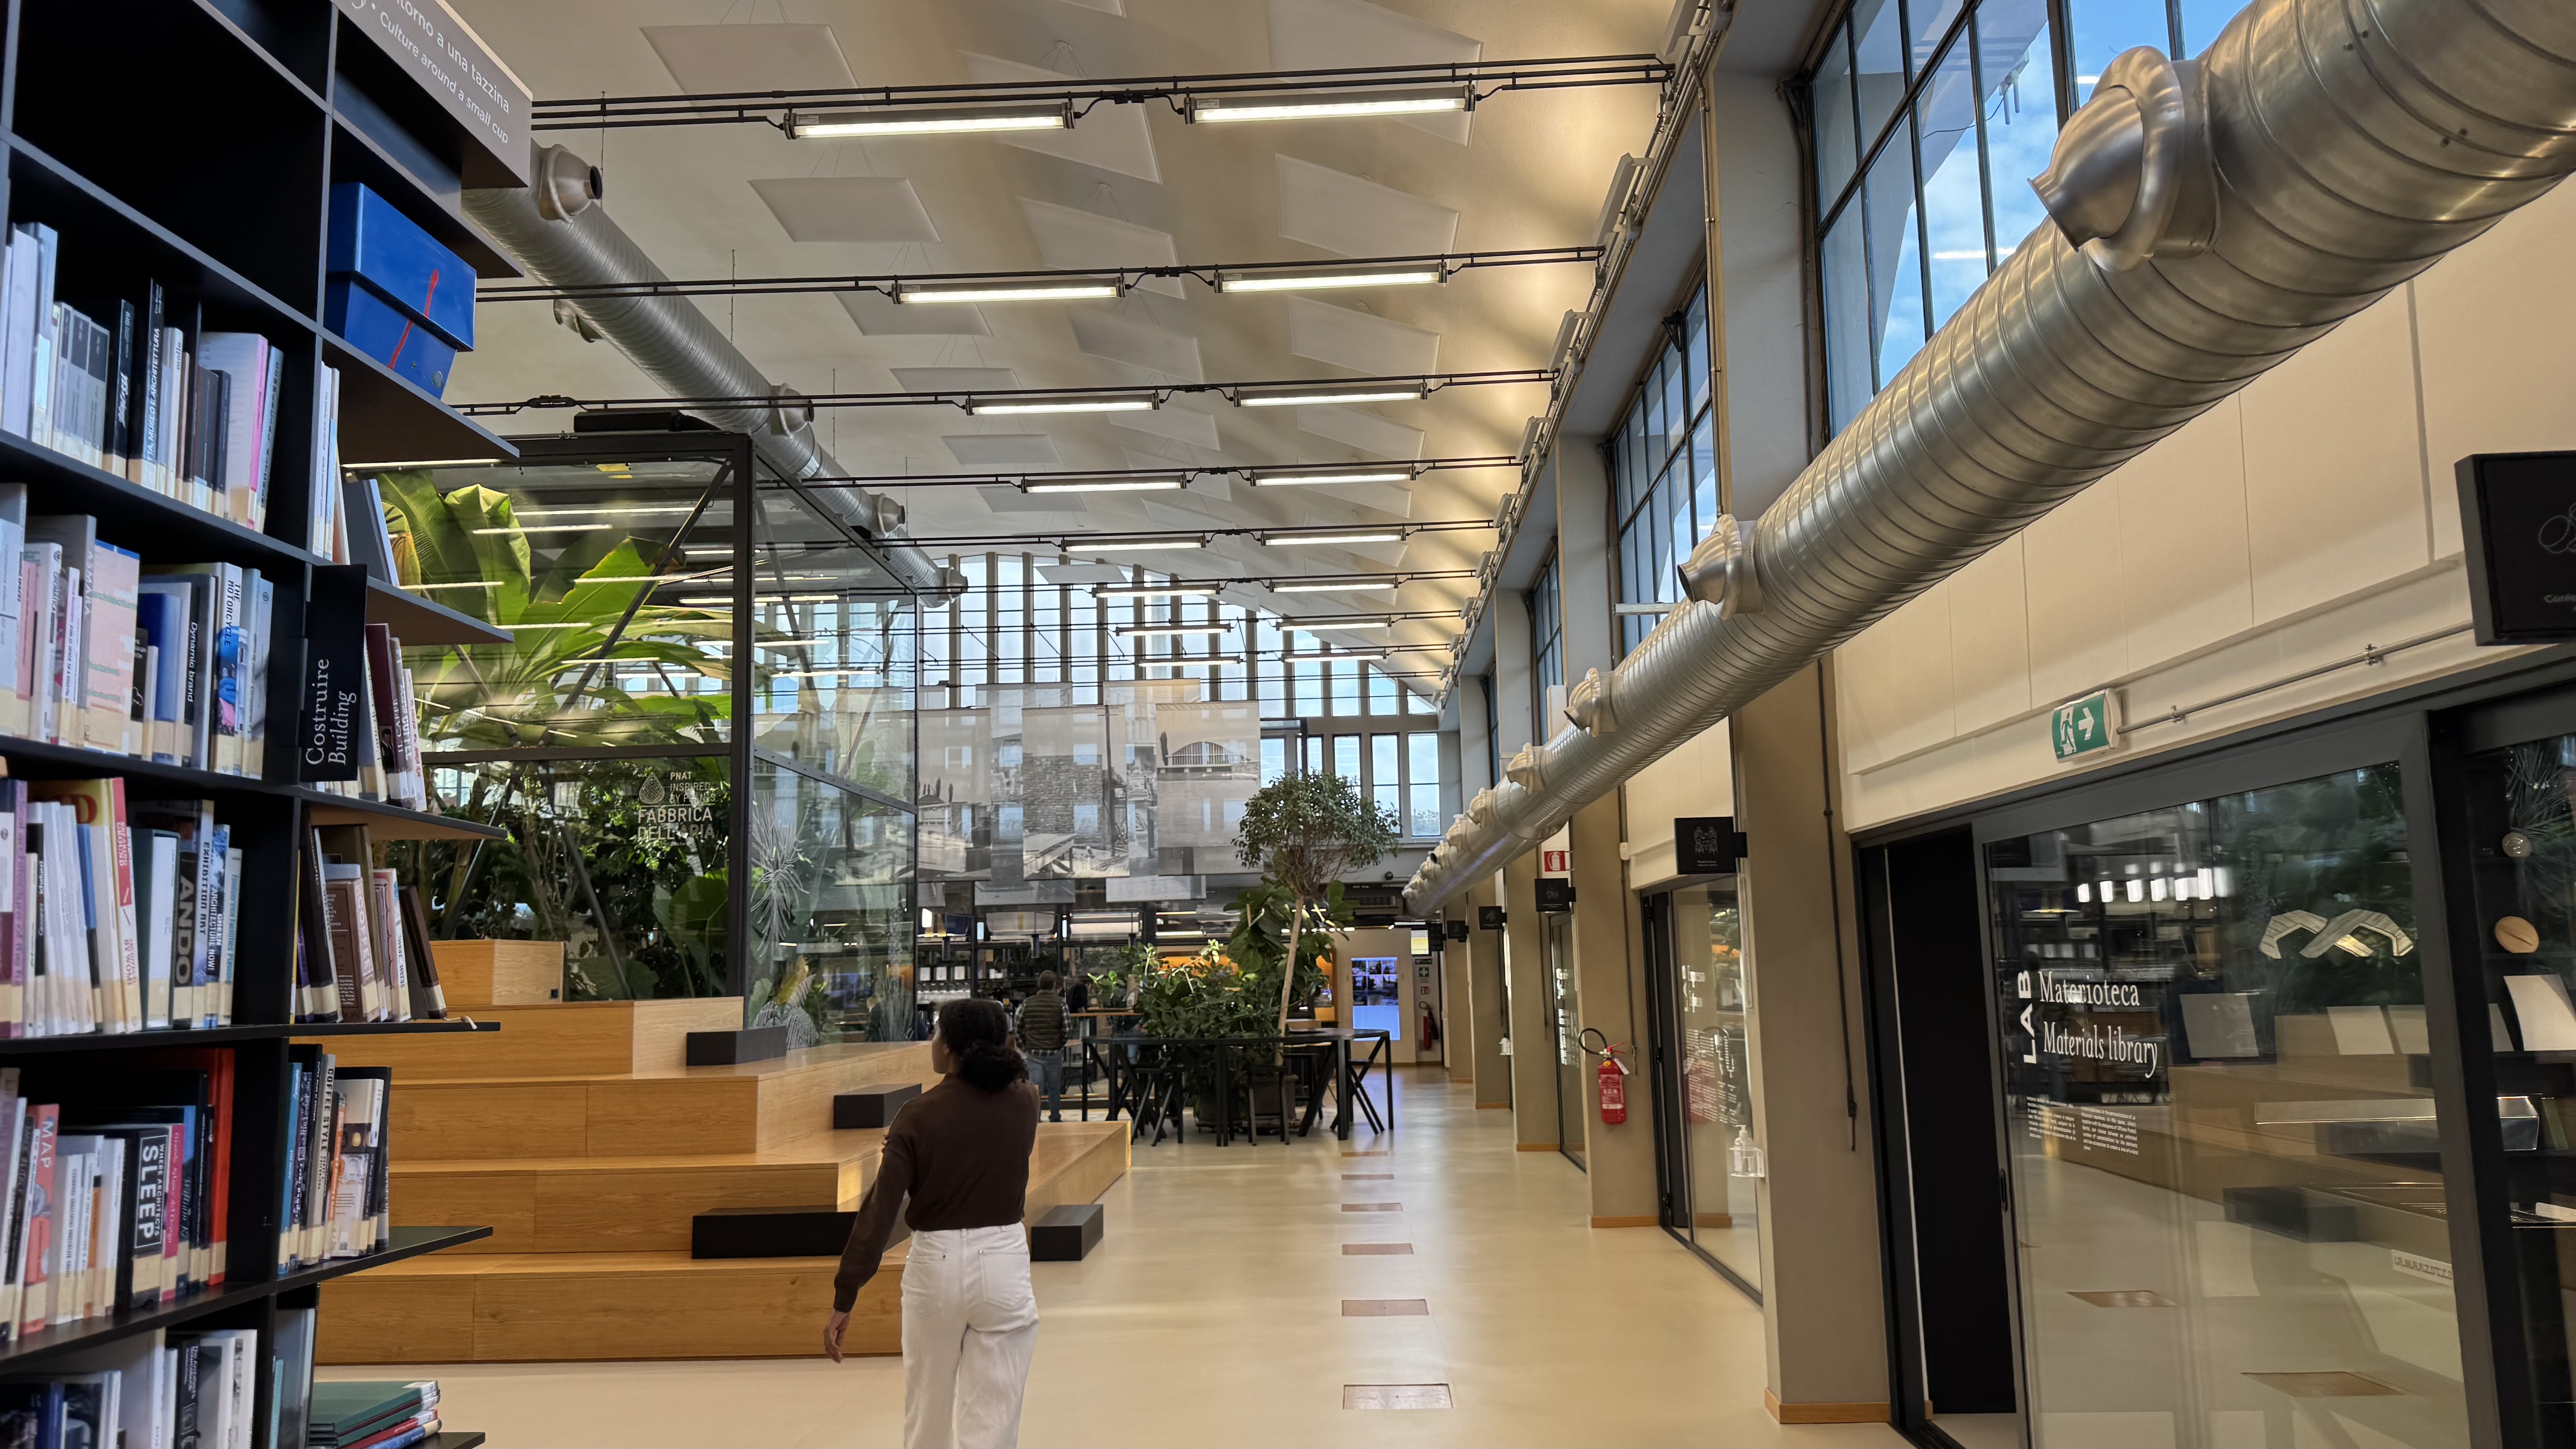
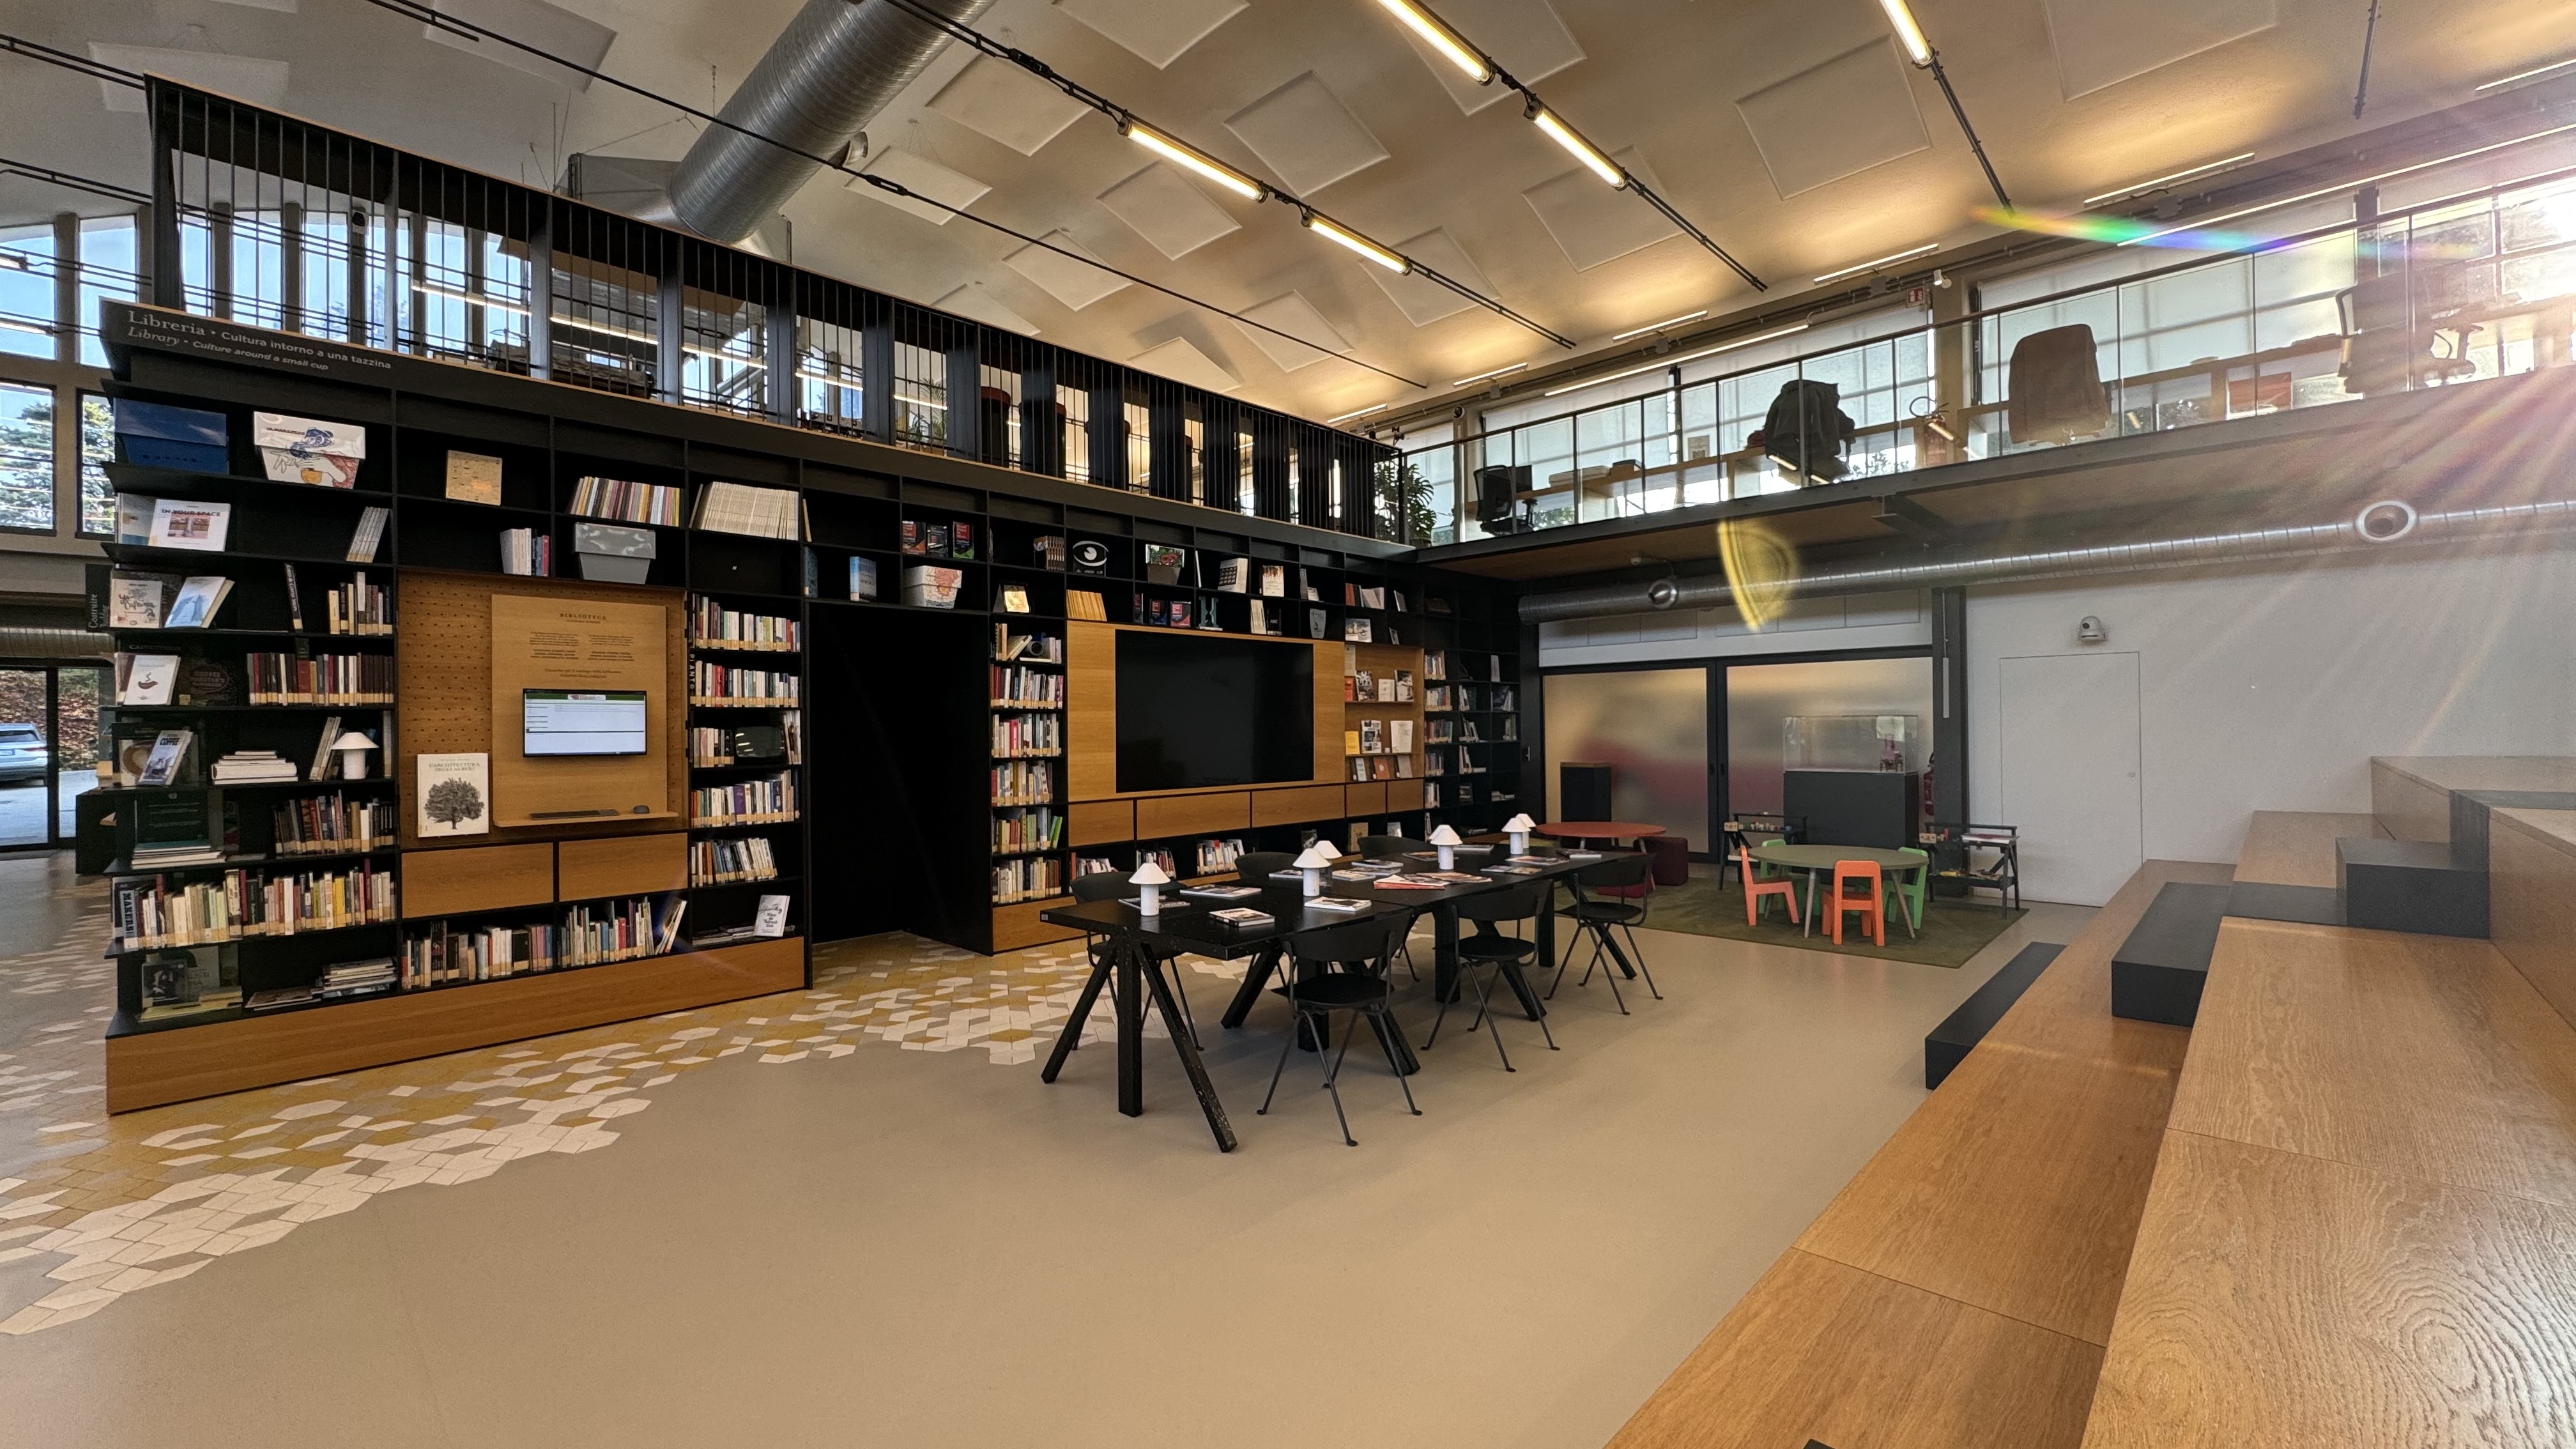
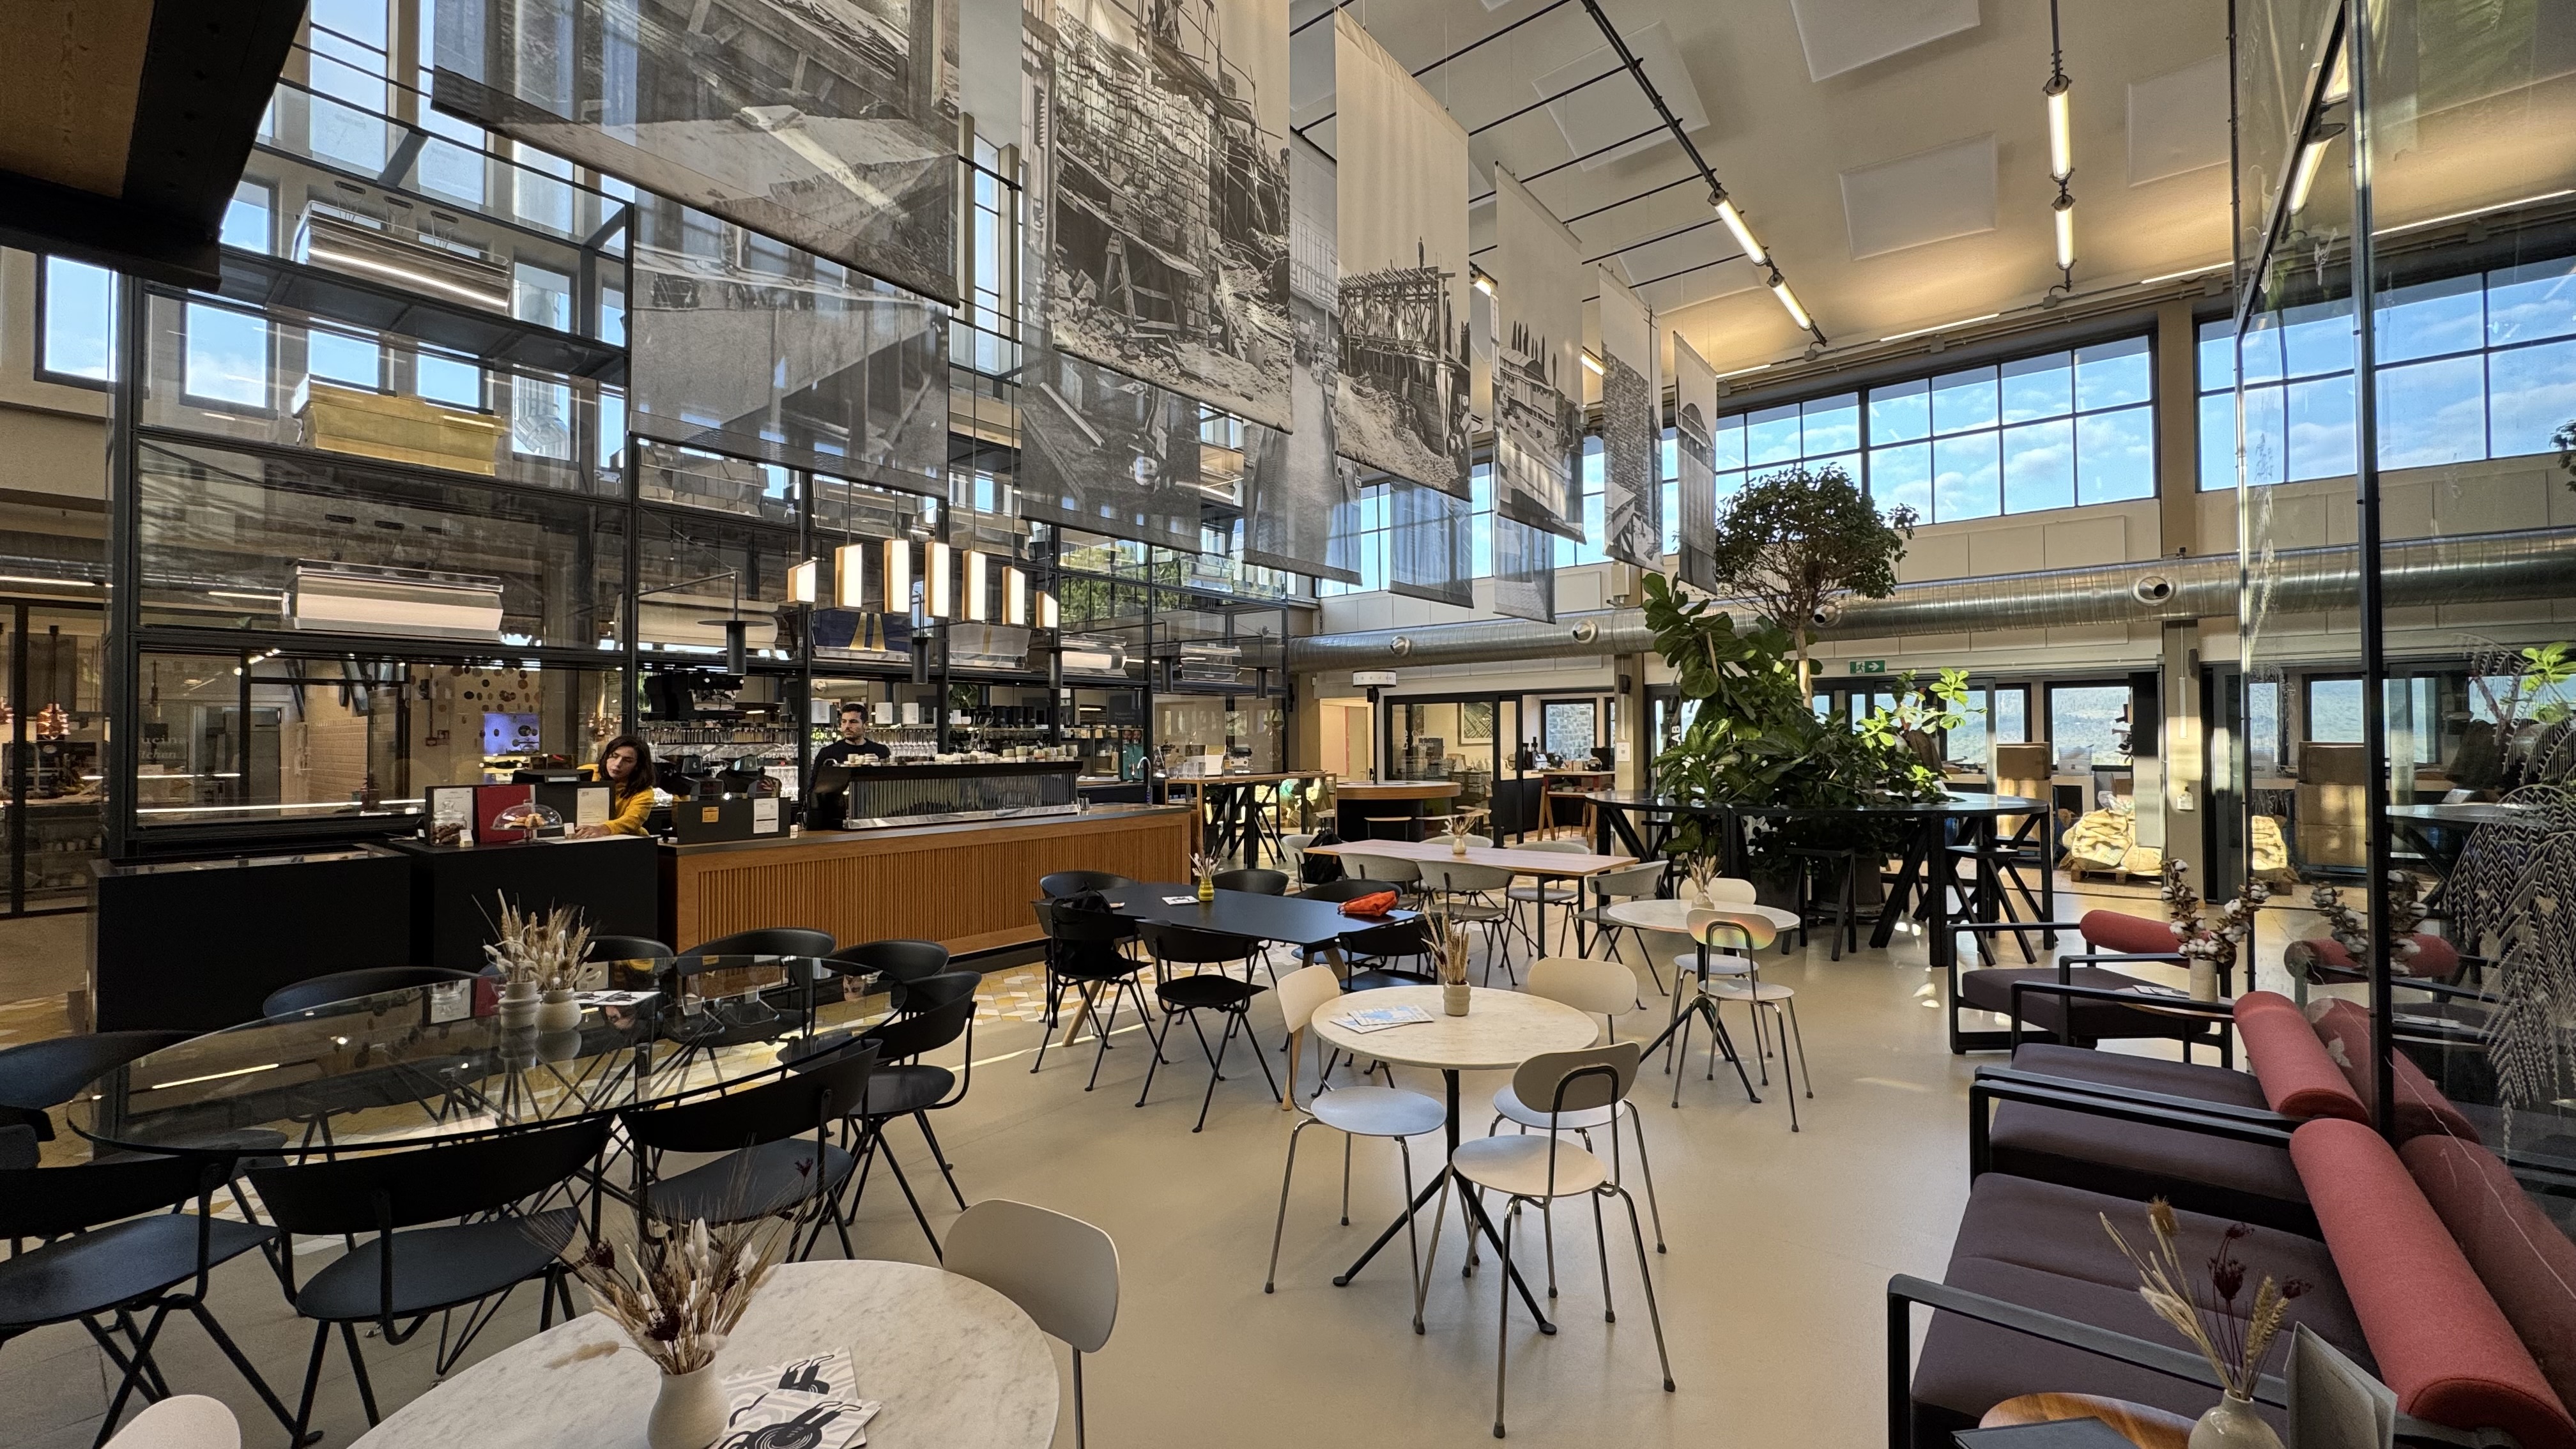
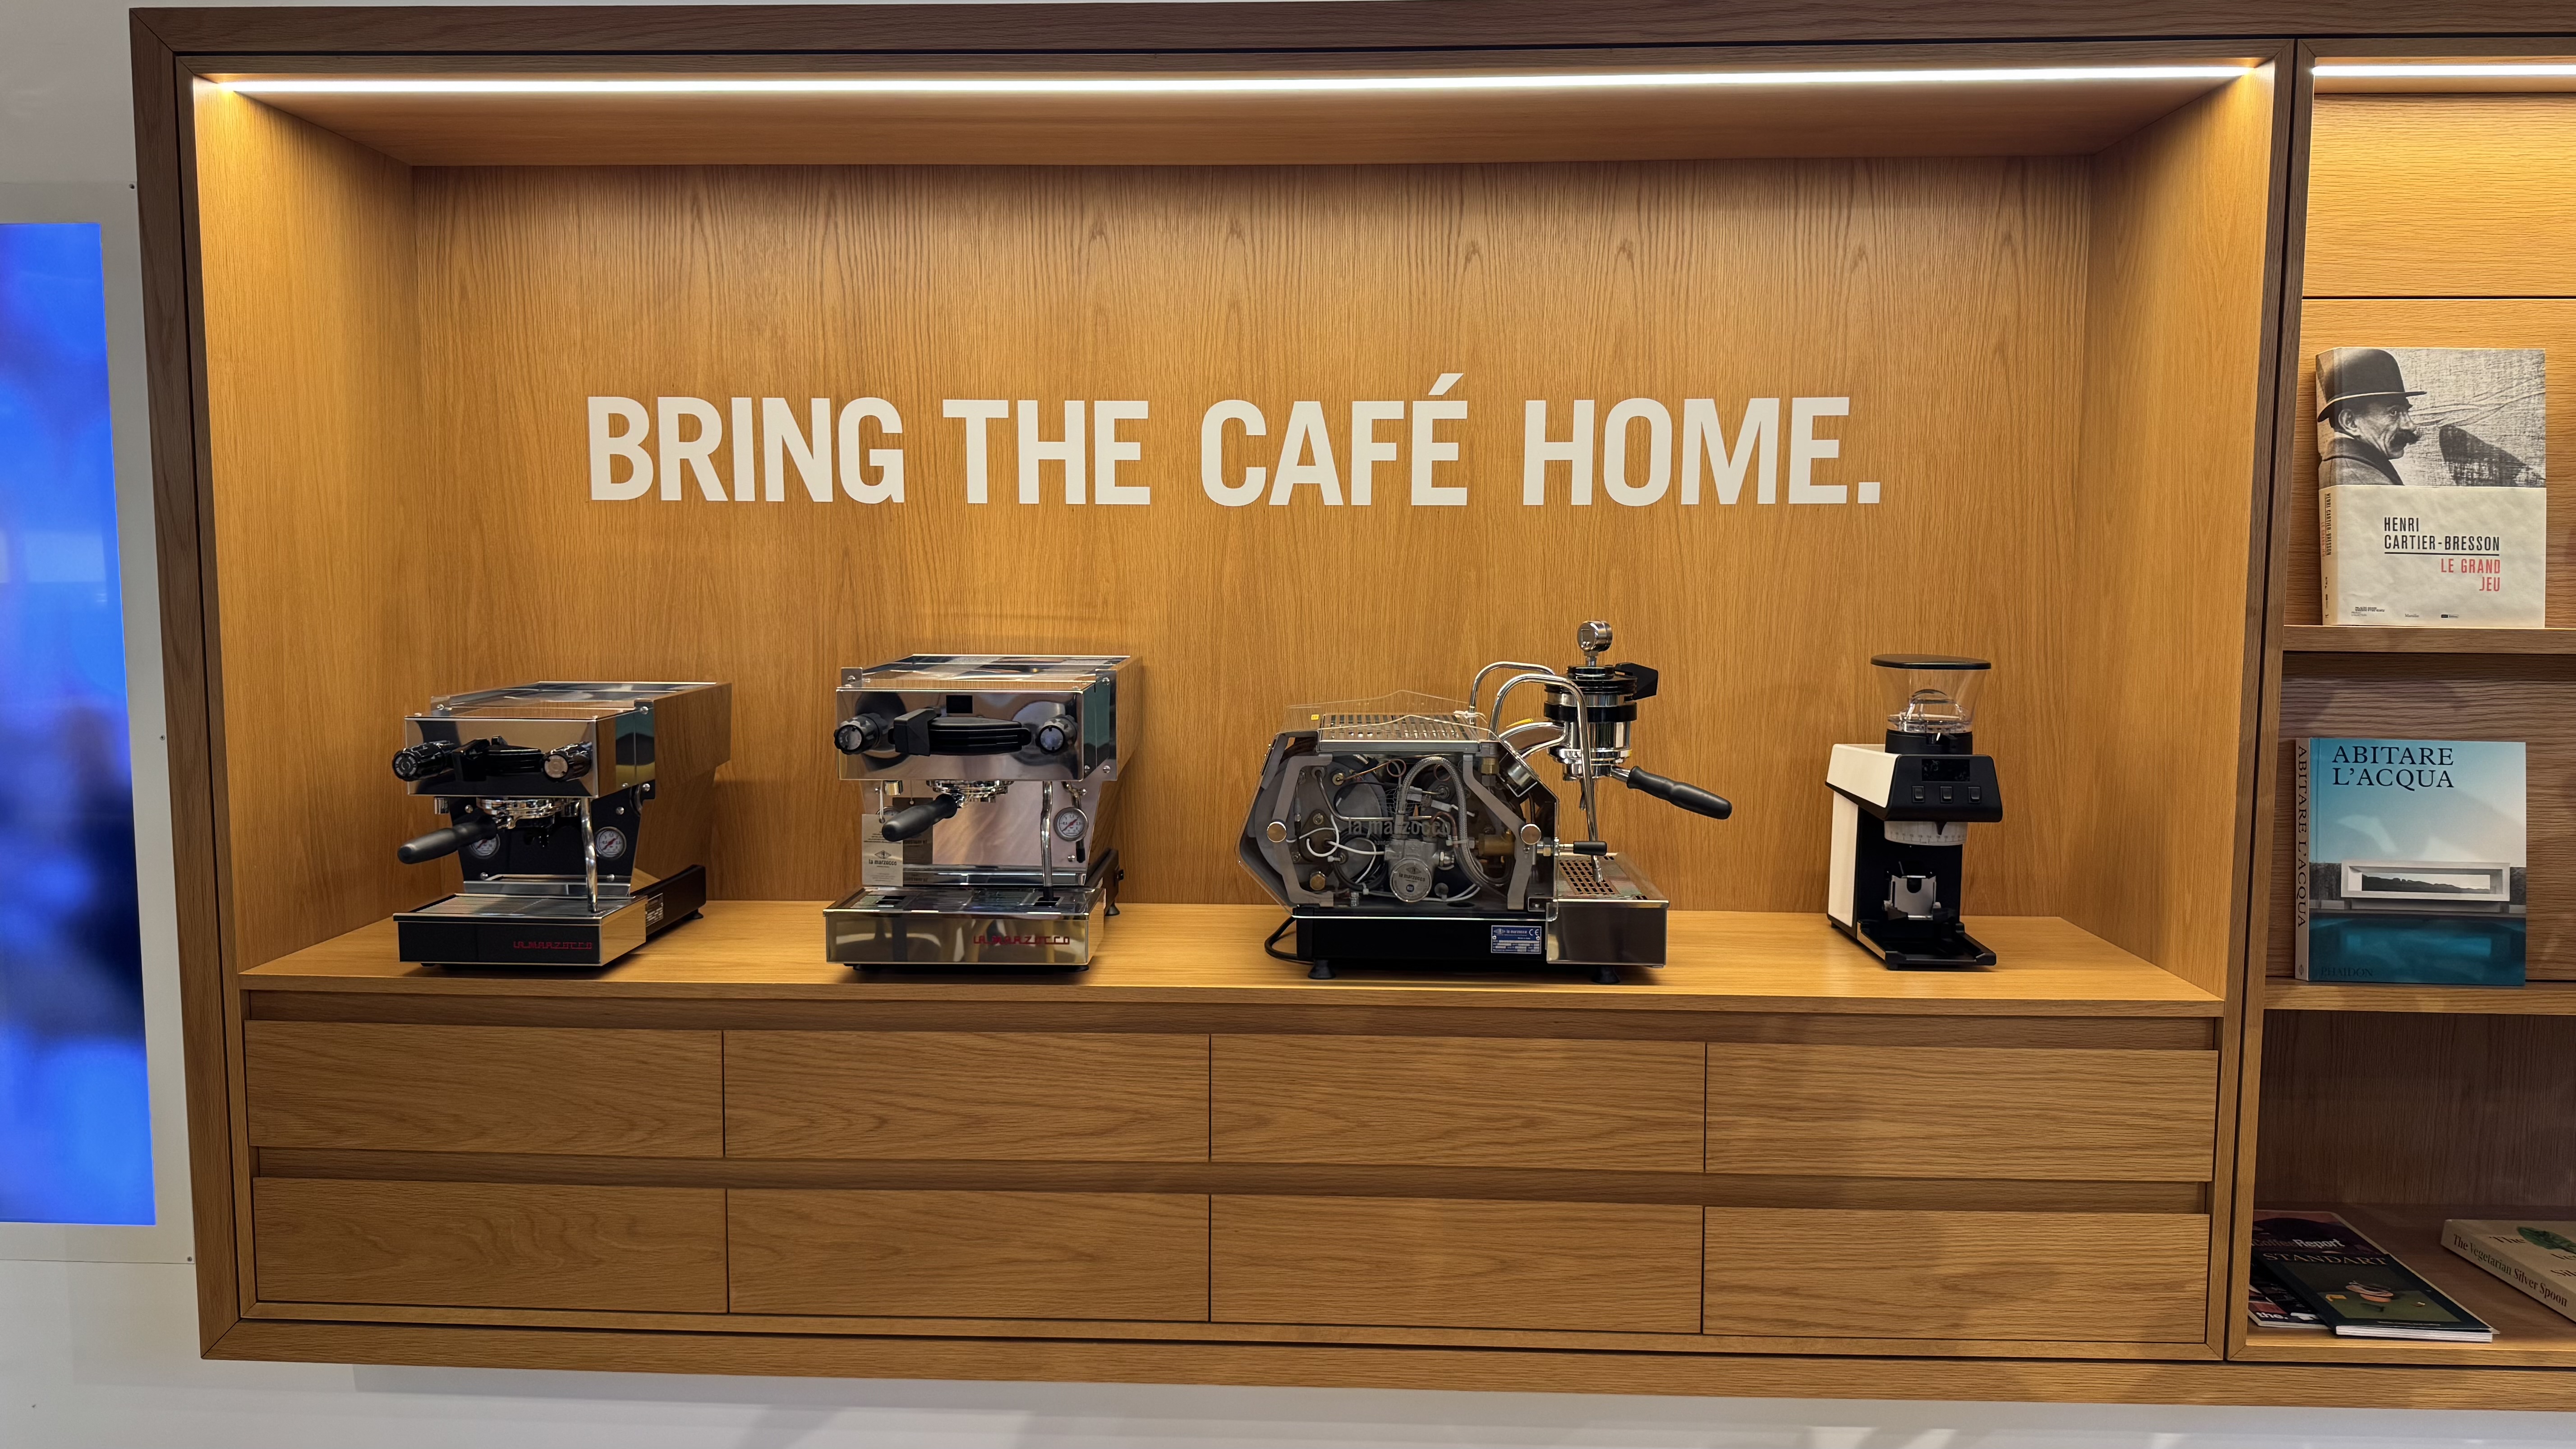
Upon entry, you’re met with a wide-open space that feels like a mix of industrial design and mid-century modern style. Immediately to the left, there’s a library of books, mostly in Italian, followed by a beautiful greenhouse. Just past the greenhouse is a café with what might be the most unique La Marzocco espresso machine I’ve ever seen.
I was a bit early for the course, and one of the staff members asked if I wanted a drink. I had a flat white, and it was exactly as I expected: perfect. After a while, the other guests taking the course arrived, and we were brought into a private room to begin.
coffee bean processing, roasting, and flavor profiles
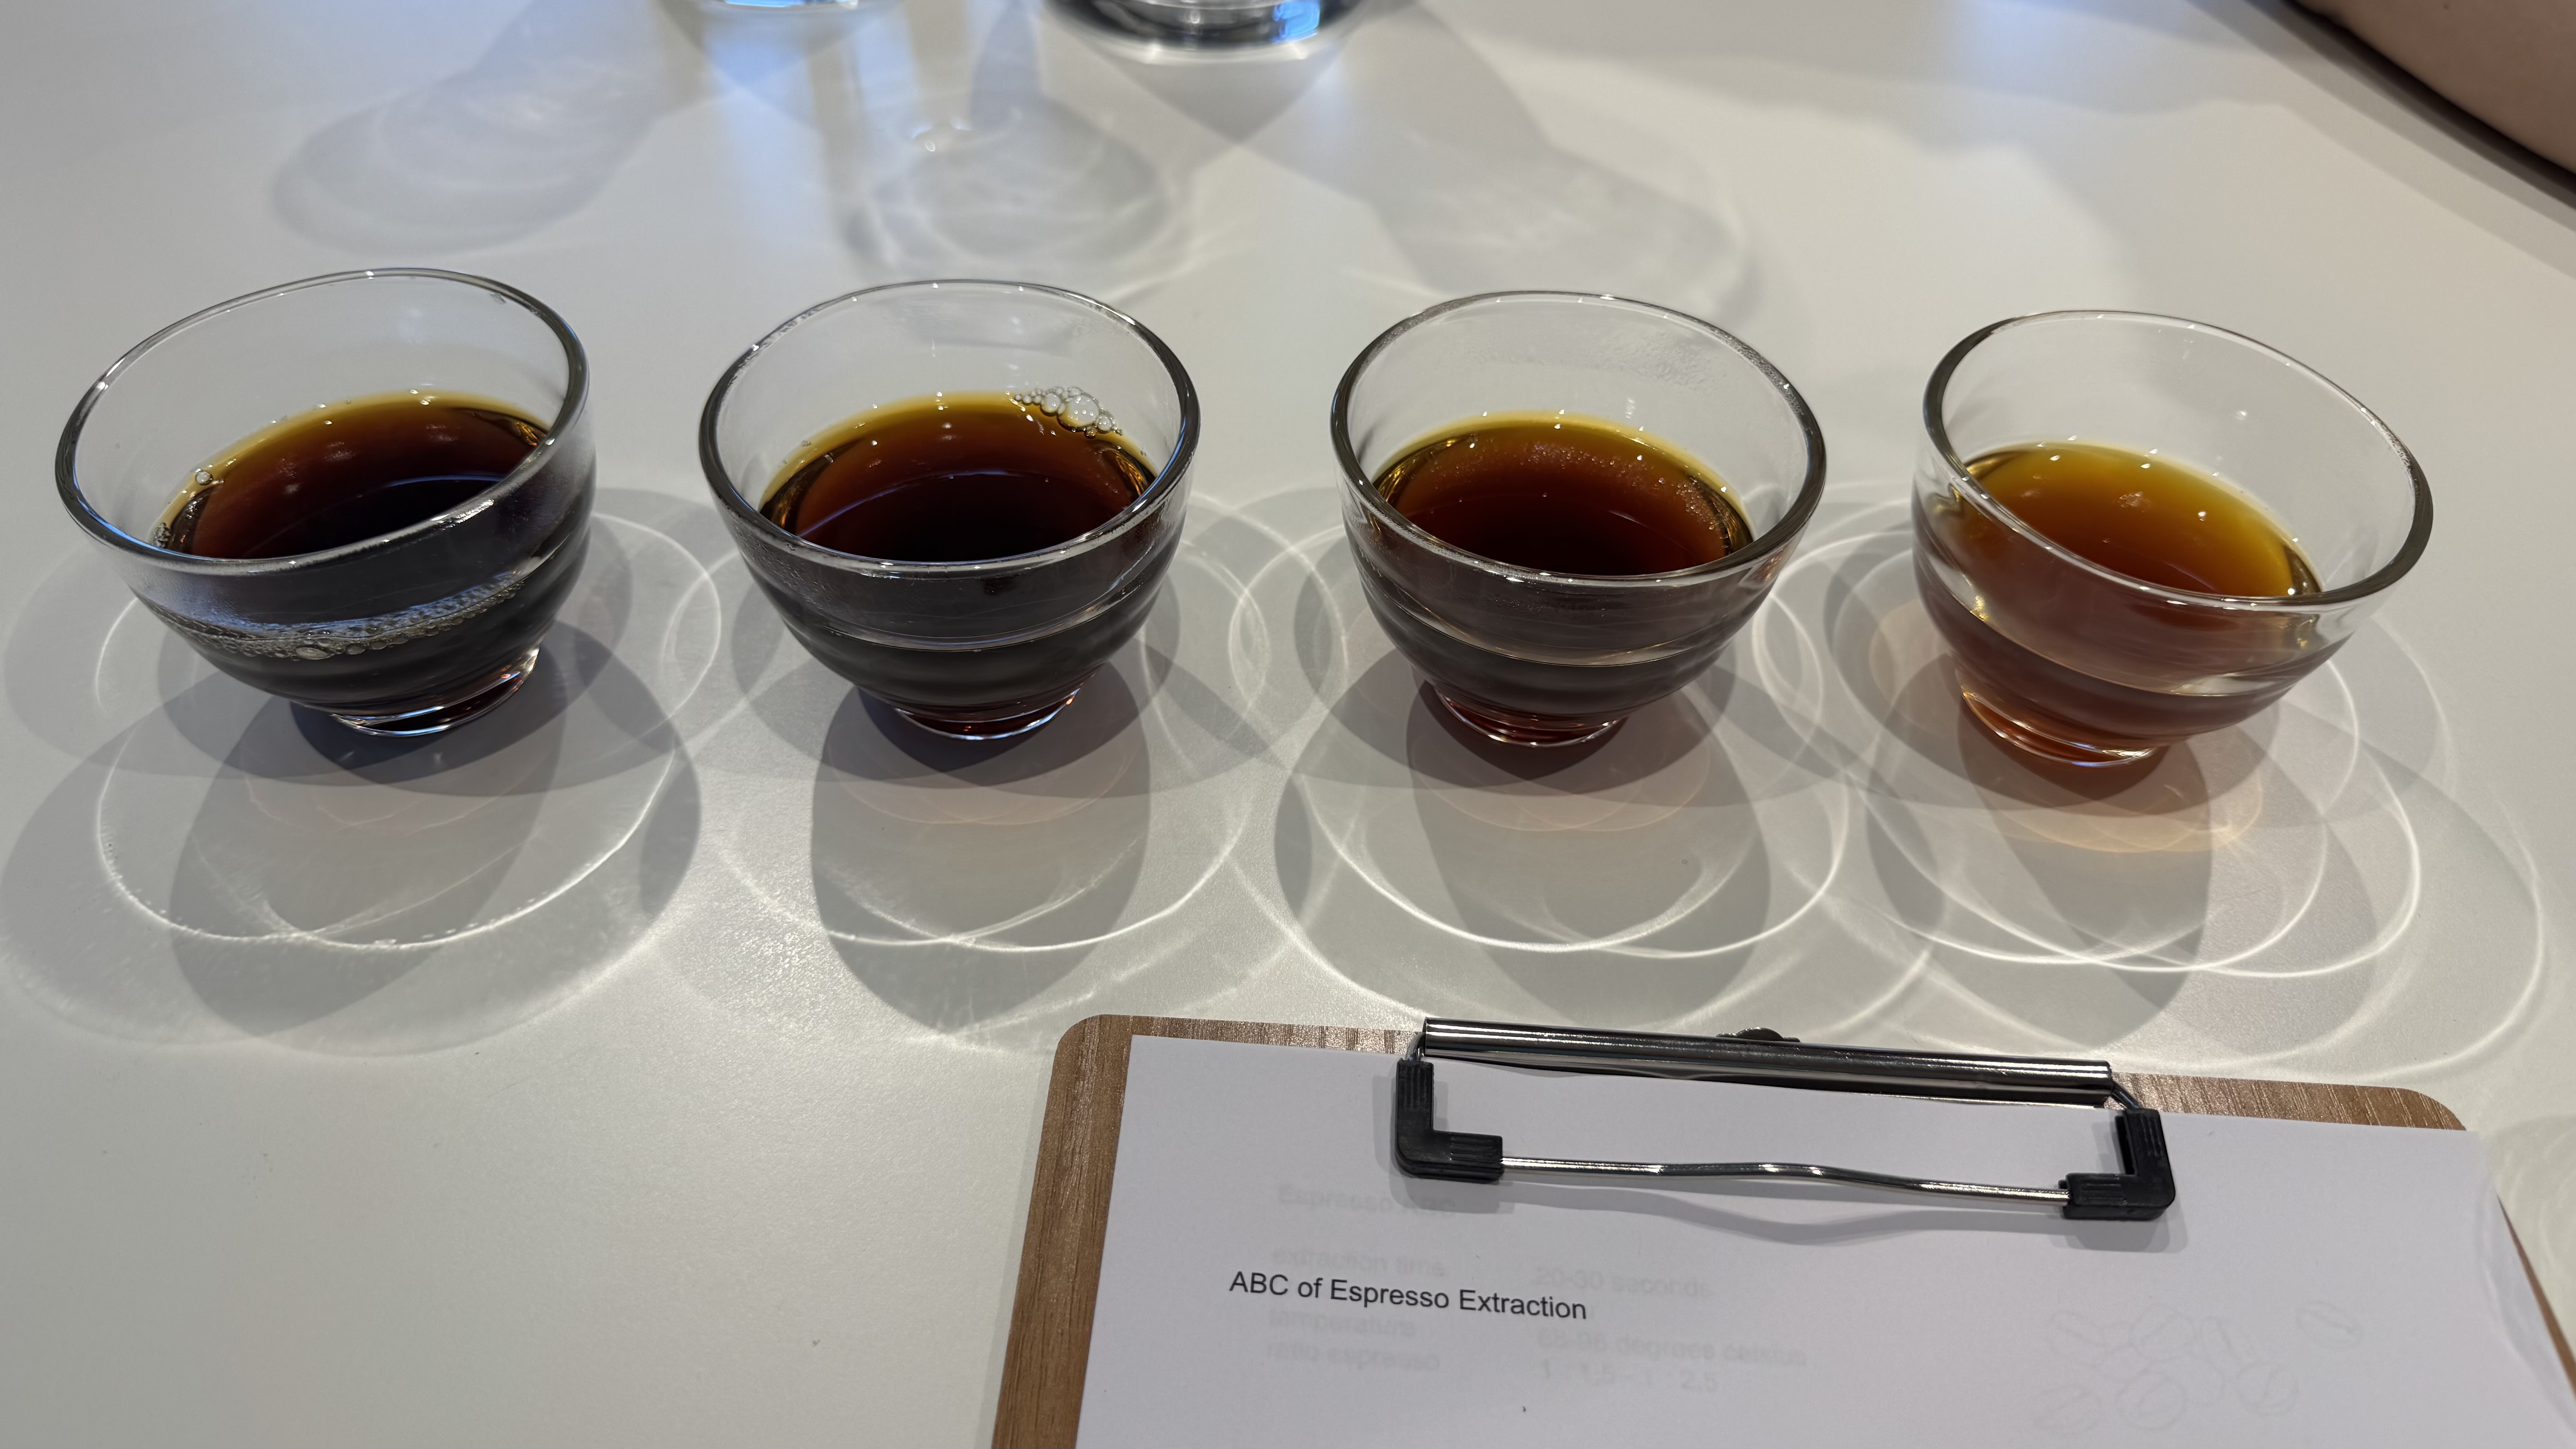
We started with the classroom portion of the course. Tony was our teacher, and he gave us handouts and pencils/pens so we could take notes. First, he went over different roast profiles and their flavor notes: Nordic light, light, medium, and dark. Each one was brewed with a V60 and done to perfection. How he was able to brew the same type of bean at four different roast levels and still make all of them taste great blew my mind. I forgot to mention that they also roast beans at the Accademia. They offer other courses as well, including cooking and coffee tasting classes.
After going over roast levels, we covered the different coffee processing methods:
- Natural
- Honey: red, yellow, and black
- Washed
- Anaerobic
Up to this point, I felt like I had synthesized pretty much everything I could from coffee and espresso YouTube. But Tony did a magnificent job explaining each processing method in a way that made everything click. He covered which regions typically use certain processing methods and how elevation, humidity, and the overall climate affect not only how coffee grows, but also how it is processed.
pulling shots, steaming milk, and making drinks
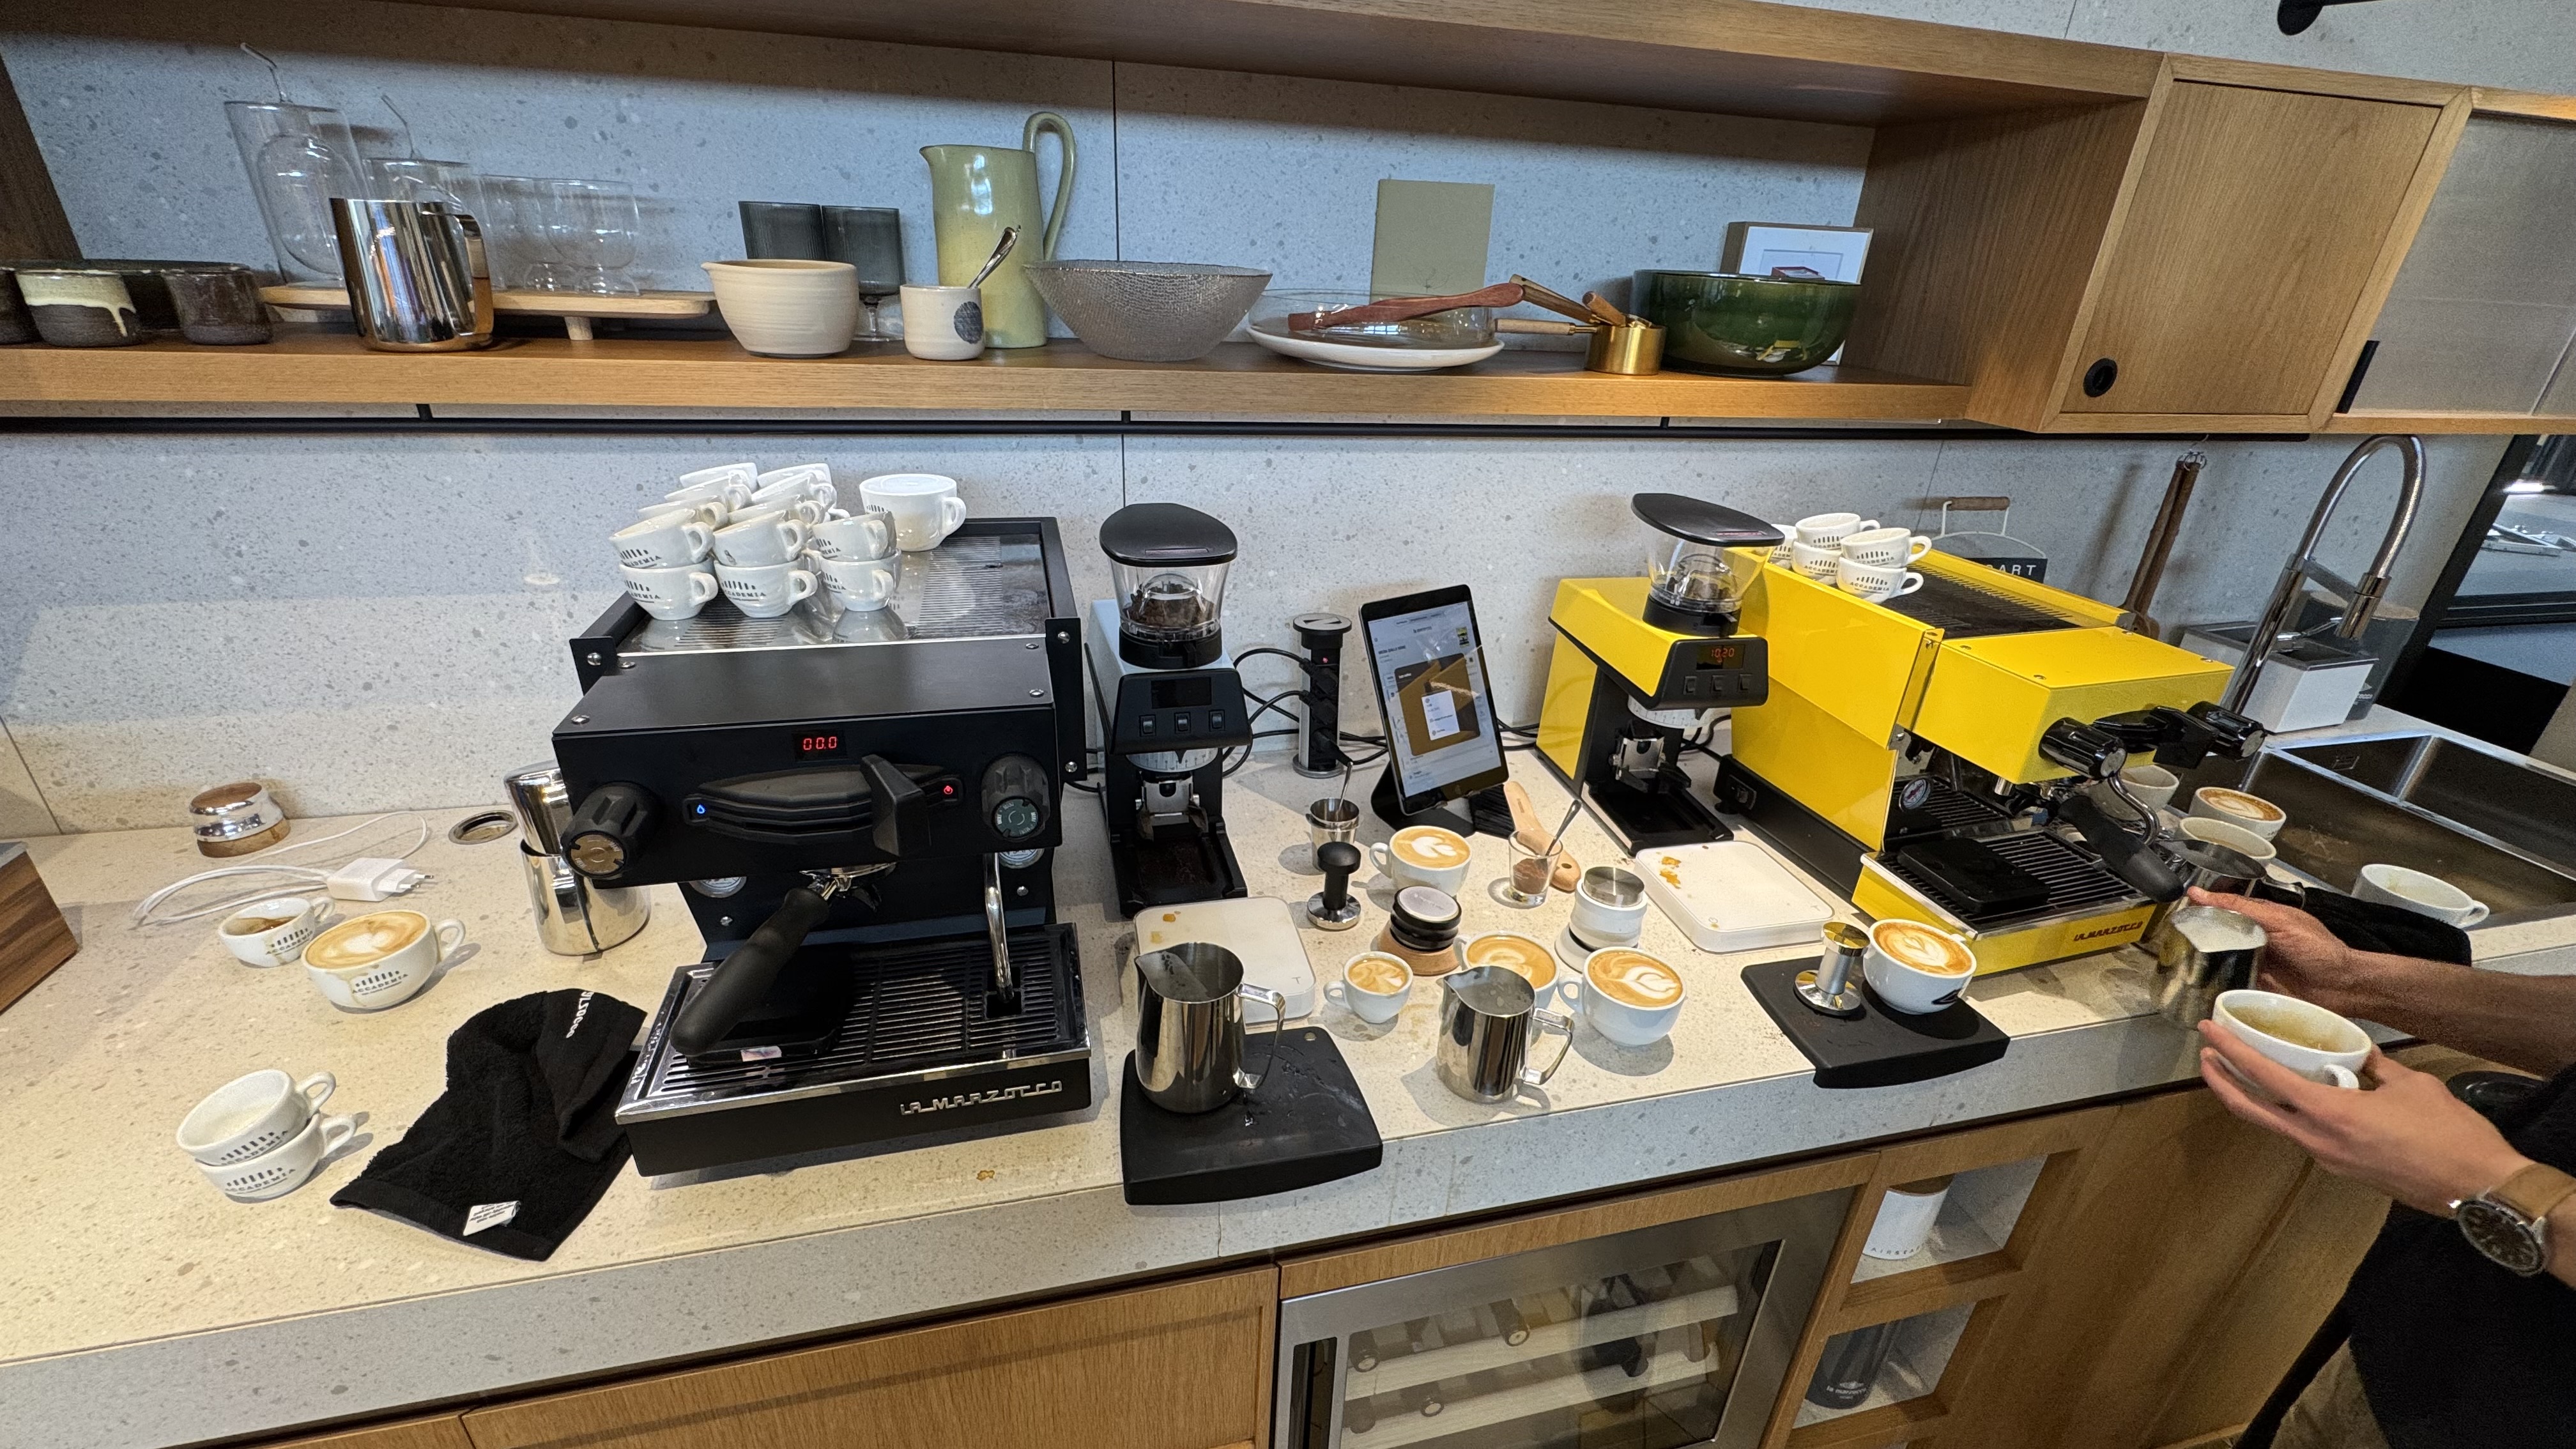
After the classroom section, we moved on to the fun part: pulling shots. Tony walked us through how to pull espresso shots and adjust grind size. We were working with a Linea Micra and a Linea Mini R. Since I have a Linea Mini R at home, I opted to start with the Micra just to see the differences.
Each machine was paired with a La Marzocco Pico grinder. Once we were given a general idea of how the machines worked, we were off.
We started by dialing in the beans that had been set in the hopper ahead of time. Then Tony had us dial in shots using mystery beans. We had to figure out how to adjust the grind settings to hit that magical shot window: 25–30 seconds, 18g in, and 36g out, also known as a 1:2 ratio.
He didn’t give us any background on the beans. We had to use what we had learned, including how the beans looked and smelled, to help us dial in the shot.
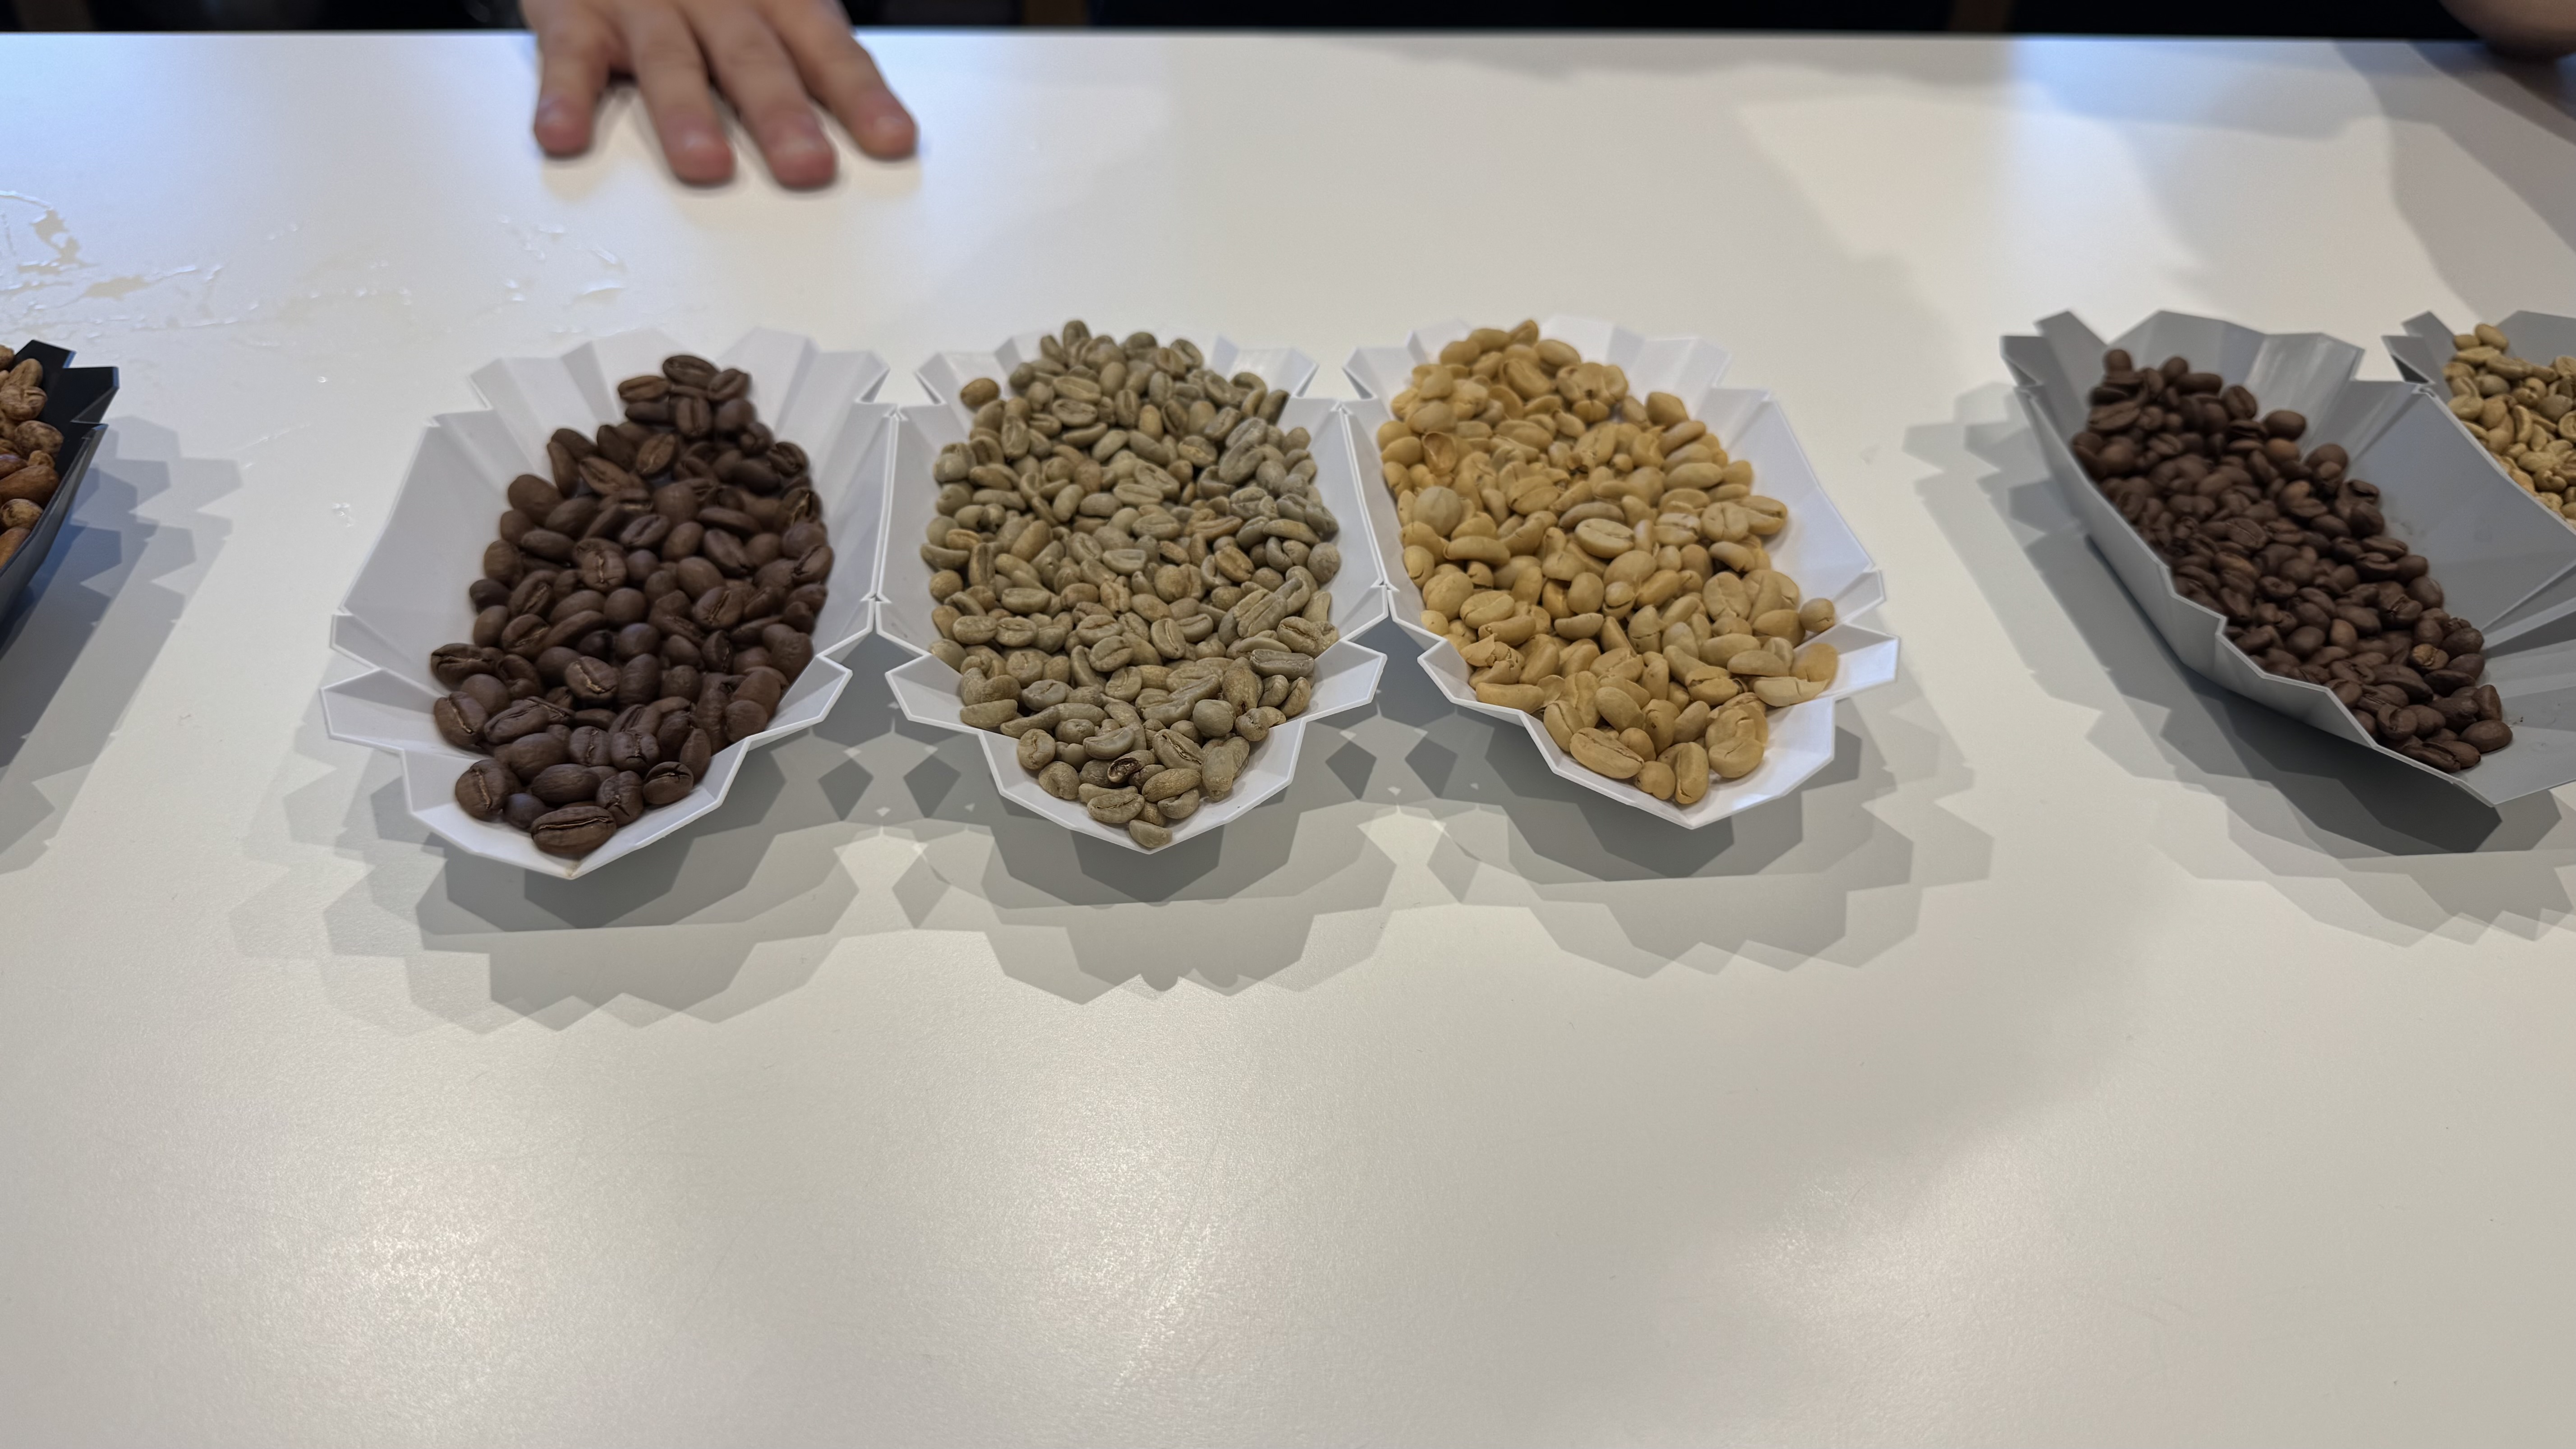
The processing method can affect how beans look. Washed beans tend to look more uniform and full. Natural beans are often a bit smaller and may have more visual imperfections. Honey-processed beans fall somewhere in the middle. Anaerobic beans can look like any of the three, but you can usually tell they are anaerobic based on their funky smell.
Tony challenged us to make him the best shot possible, and that’s what we tried to do.
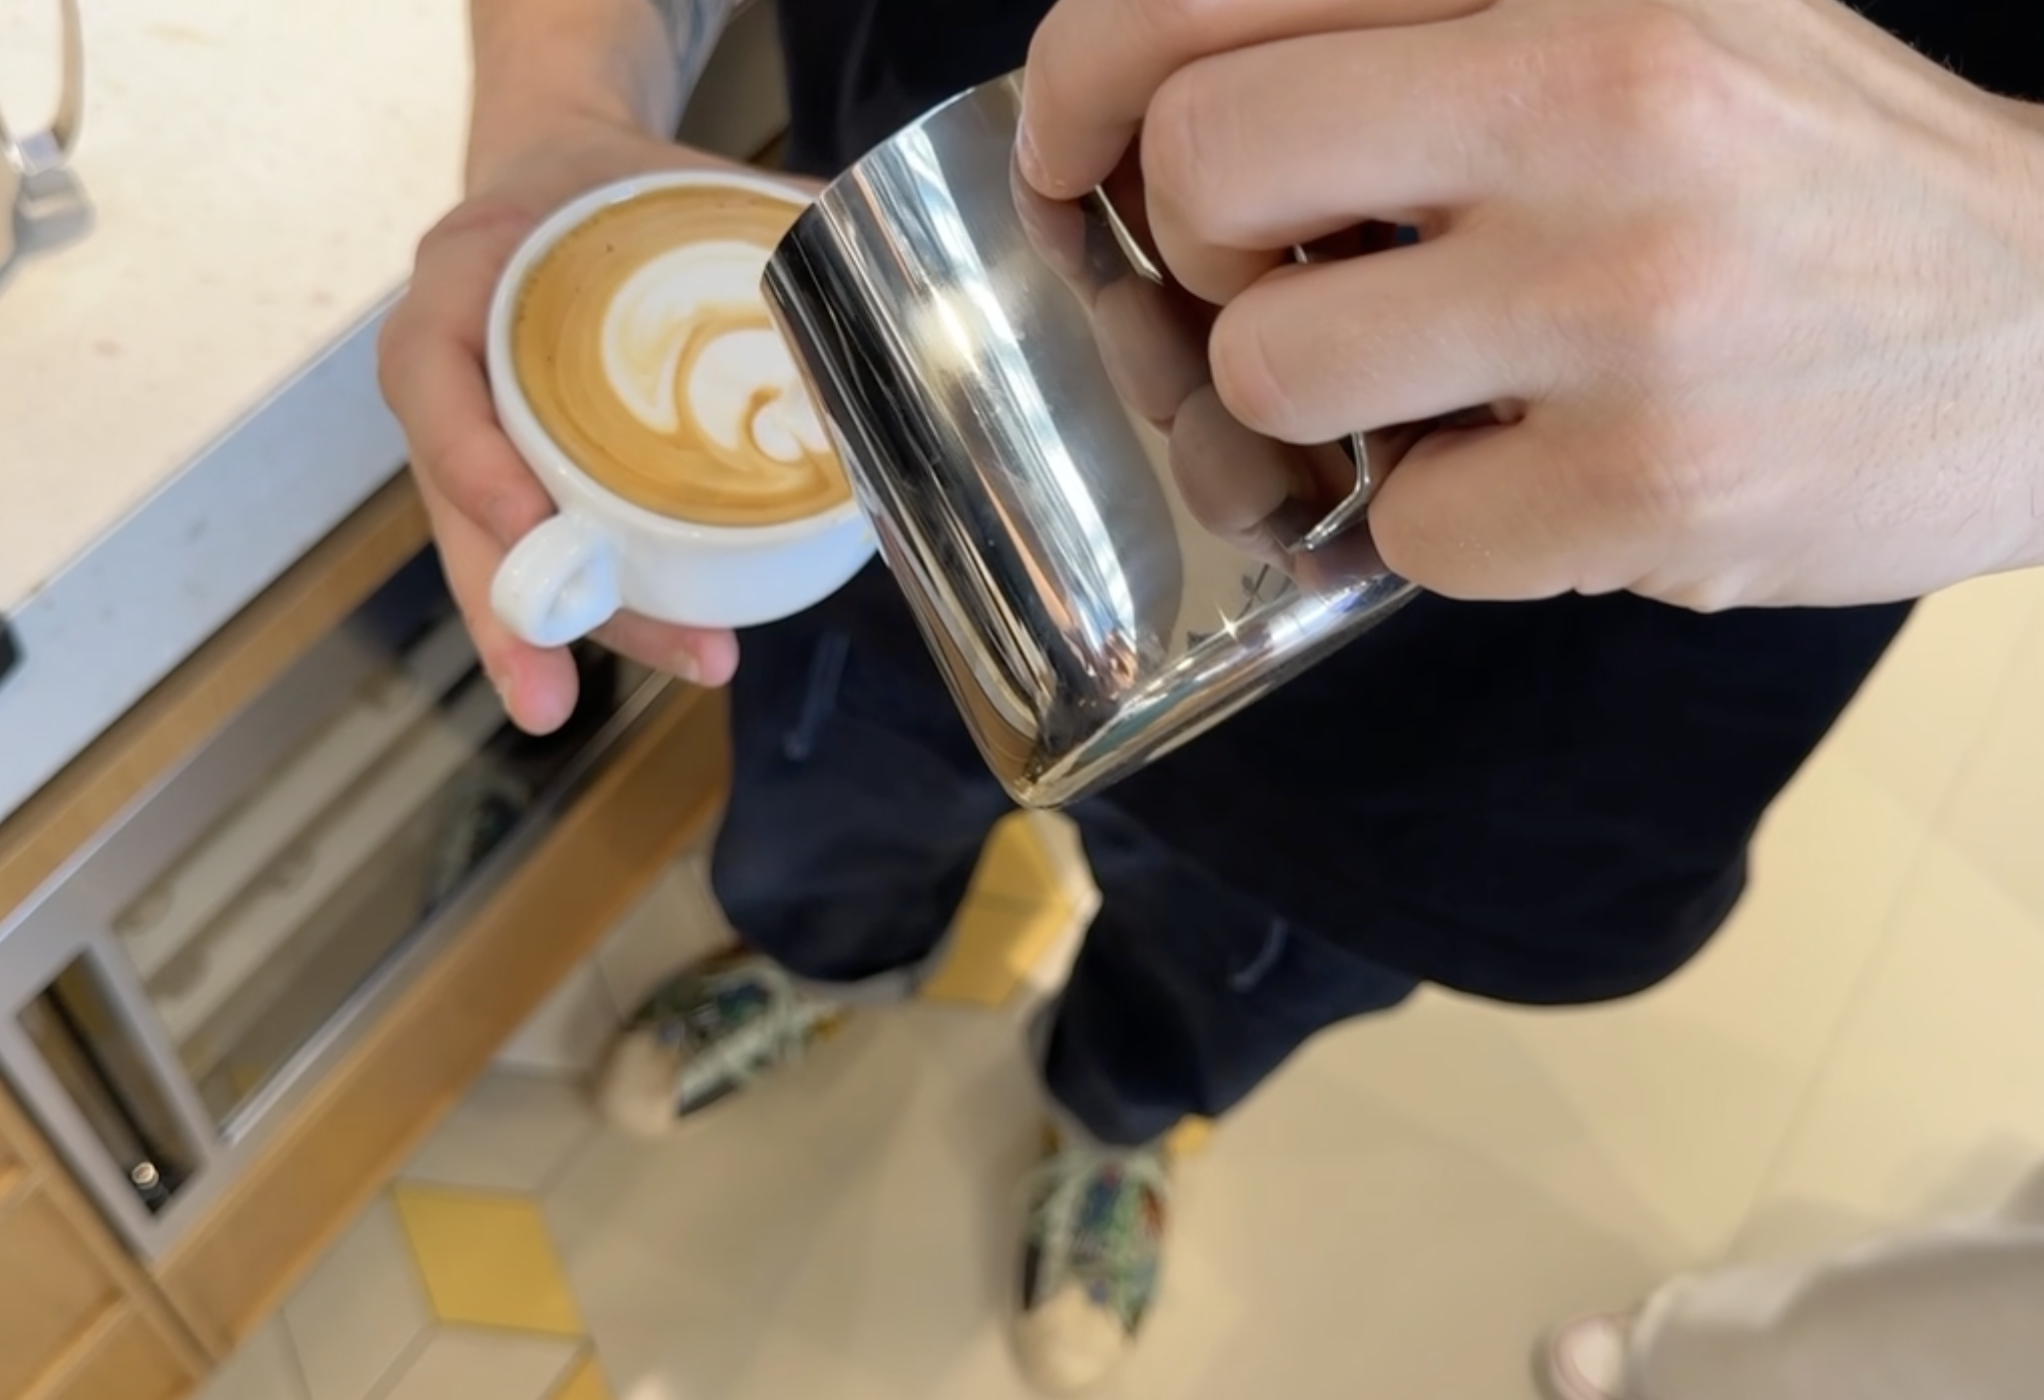
Shortly after, Tony showed us his technique for steaming milk. We all gave it a try. At home, steaming milk is where I’ve had the most trouble, and Tony was happy to answer all my questions how to improve my steaming technique.
Apparently, I had a tendency to wait a little too long before pouring my milk into the shot, which allows the foam to separate from the microfoam. This hesitation can cause muddier latte art and more inconsistency. I learned that I need to pour the latte or flat white as soon as the milk is steamed.
About 20 or so shots later, the course was over, and we were all way too caffeinated. I may have drunk the equivalent of eight espressos within those last two hours.
overall impressions
We wrapped up the course with Tony showing us the custom La Marzocco espresso machine in the main café. This machine had almost every type of brewing control you could think of: lever, volumetric, manual paddle, and more. It was definitely the most unique La Marzocco machine I’ve ever seen.
Let’s just say that when I go back to Florence, I’ll be coming back to the Accademia. There are so many other courses they offer and still so many things to learn.